How to back up photos on an iPhone

In this digital age, our smartphones have become an integral part of our lives, capturing countless cherished memories through the lens of our iPhones. However, the thought of losing these irreplaceable photos due to accidental deletion, device damage, or theft can be gut-wrenching. That's why it's crucial to have a reliable and efficient backup system in place. In this blog, we'll explore how to back up iPhone photos and discuss the benefits of using a user-friendly platform like Photobucket.
-
iCloud Photo Library - Your Built-in Savior

When it comes to backing up iPhone photos, iCloud Photo Library is a lifesaver. It seamlessly stores your photos and videos in the cloud, making them accessible across all your Apple devices. To enable this feature, go to "Settings," tap on your Apple ID, select "iCloud," and ensure that "Photos" is turned on. With iCloud Photo Library, you can enjoy automatic synchronization and easy retrieval of your precious memories. But don't get trapped in iCloud only.
-
Photobucket - A Convenient Backup Solution

While iCloud Photo Library is an excellent option for Apple users, it's also wise to have an alternative backup solution that transcends platforms. That's where Photobucket comes in. This user-friendly platform offers cross-platform compatibility, making it an ideal choice for iPhone users who may have friends or family members using Android devices.
Photobucket allows you to easily back up your iPhone photos and videos by uploading them to your account. With its intuitive interface, you can organize your media into albums and share them effortlessly. Photobucket also provides a generous amount of free storage space, ensuring you can preserve your memories without worrying about running out of room.
-
Simple Steps to Back Up Your Photos with Photobucket

Backing up your iPhone photos with Photobucket is a breeze. Follow these steps to get started:
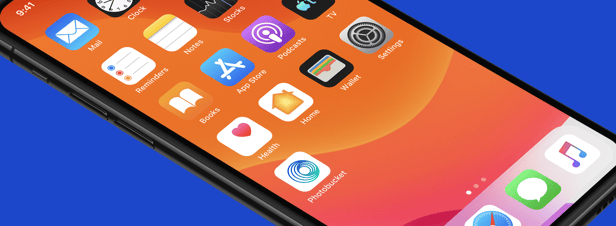
Step 1: Download and install the Photobucket app from the App Store.
Step 2: Create a Photobucket account or log in if you already have one.
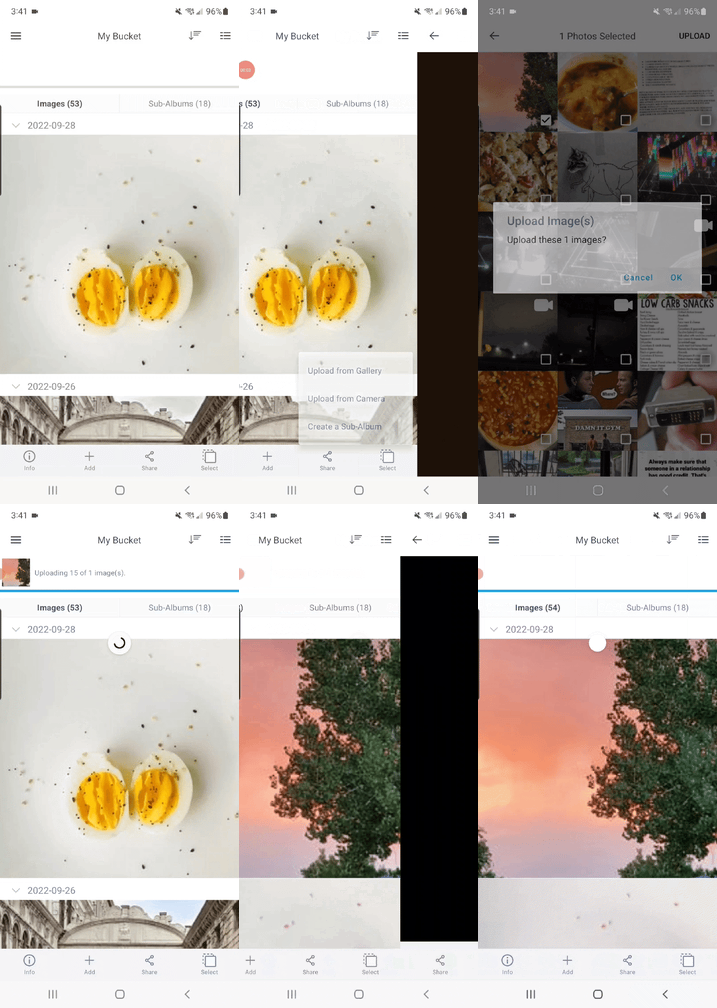
Step 3: Open the app and navigate to the "Upload" section.
Step 4: Select the photos and videos you want to back up from your iPhone's Camera Roll.
Step 5: Tap the "Upload" button and let Photobucket work its magic.
-
Benefits of Using Photobucket
a) Accessibility and Cross-Platform Compatibility: One of the standout advantages of Photobucket is its ability to seamlessly function across multiple platforms. Whether you're using an iPhone, Android device, or accessing your account from a computer, your backed-up photos will be readily accessible, making sharing and retrieval effortless.
b) Privacy and Security: Photobucket takes the security of your photos seriously. Your uploaded media is protected with encryption and remains private unless you choose to share it. This gives you peace of mind knowing that your memories are safe from prying eyes.
c) Compression-free cloud storage: Photobucket guarantees what you upload and what you download never changes, meaning the quality of your treasured memories won't change because they won't compress your photos and videos. Read more about the Photobucket Guarantee.
d) Automatically back up your photos: Photobucket's Auto Backup is designed to automatically upload and store your photos and videos from various devices, such as smartphones, tablets, and computers, in your Photobucket account.
Backing up your iPhone photos is not just a matter of convenience but a safeguard against potential loss. With iCloud Photo Library as the default option for Apple users and Photobucket as a versatile alternative, you can ensure the safety and accessibility of your cherished memories.
Whether you're an iPhone enthusiast or have a mixed device ecosystem, the benefits of Photobucket, such as cross-platform compatibility, privacy, the Auto Backup tool, and the Photobucket Guarantee make it an excellent choice for preserving and sharing your photos. So, take action today, back up those memories, and keep your iPhone photos safe with Photobucket!
