How to download your Instagram photos & videos.

Let's start with downloading photos & videos from Instagram to Android.
It’s pretty easy to download your photos and videos from Instagram to your Android device if you follow the simple steps below. If you’re an iPhone user, your steps are a little further down the page.
1. Open Instagram on your Android device.
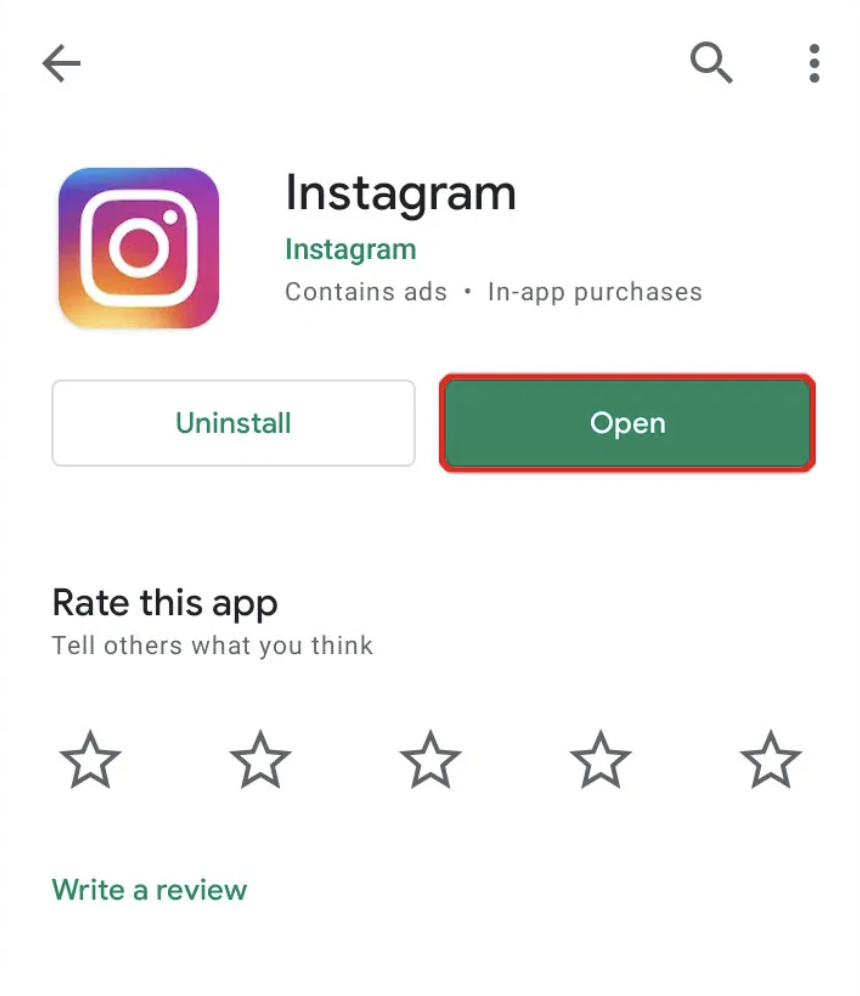
2. Click on the three lines at the top to get to your settings. Then select settings.
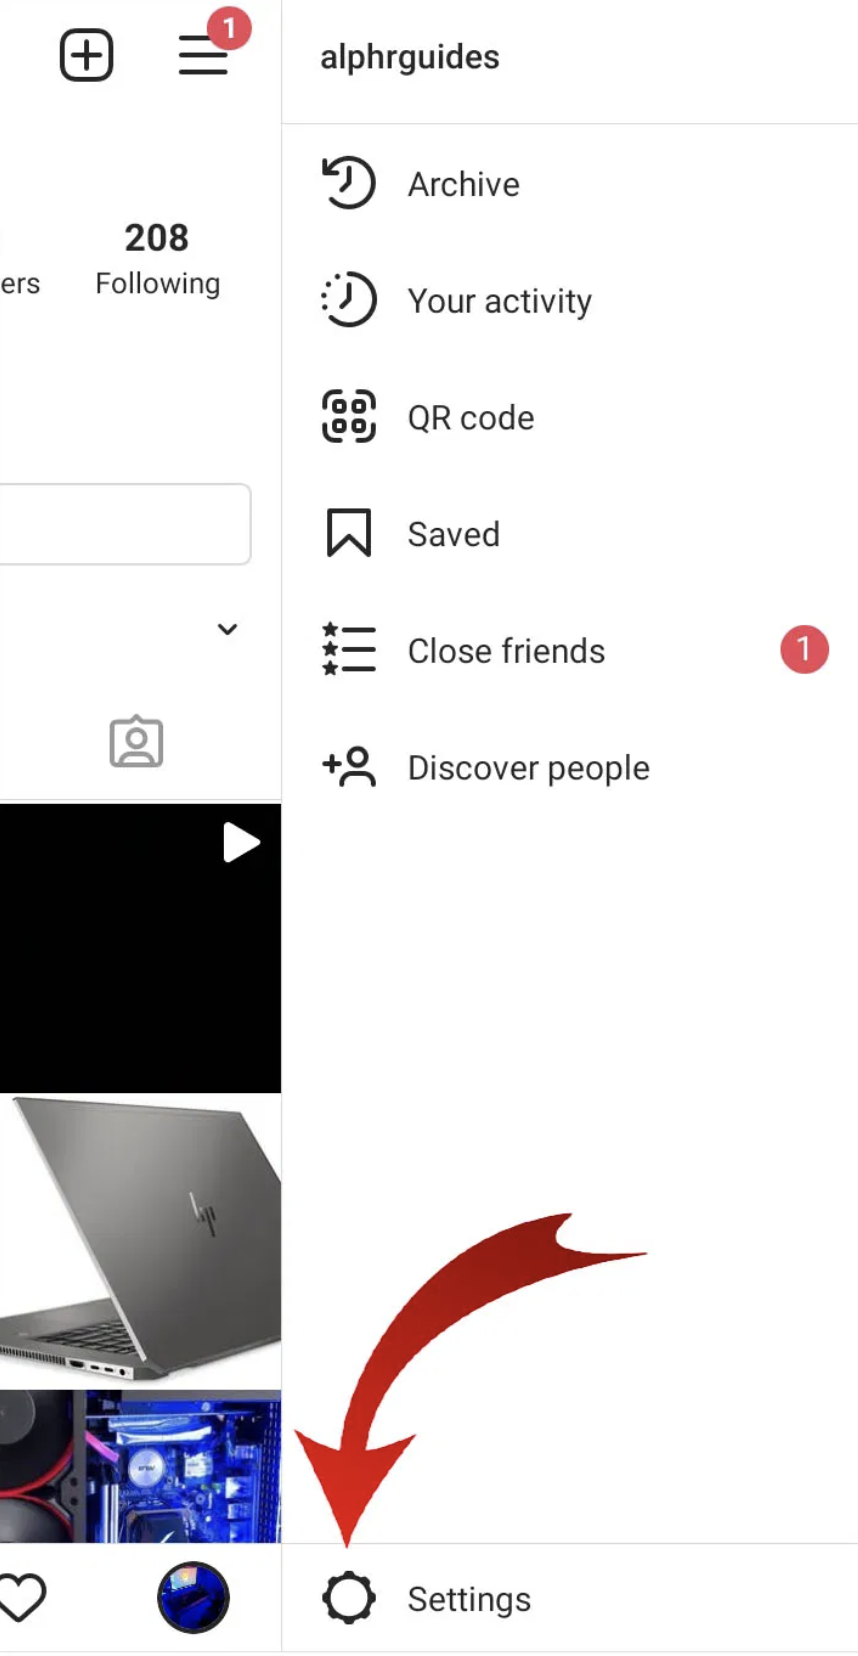
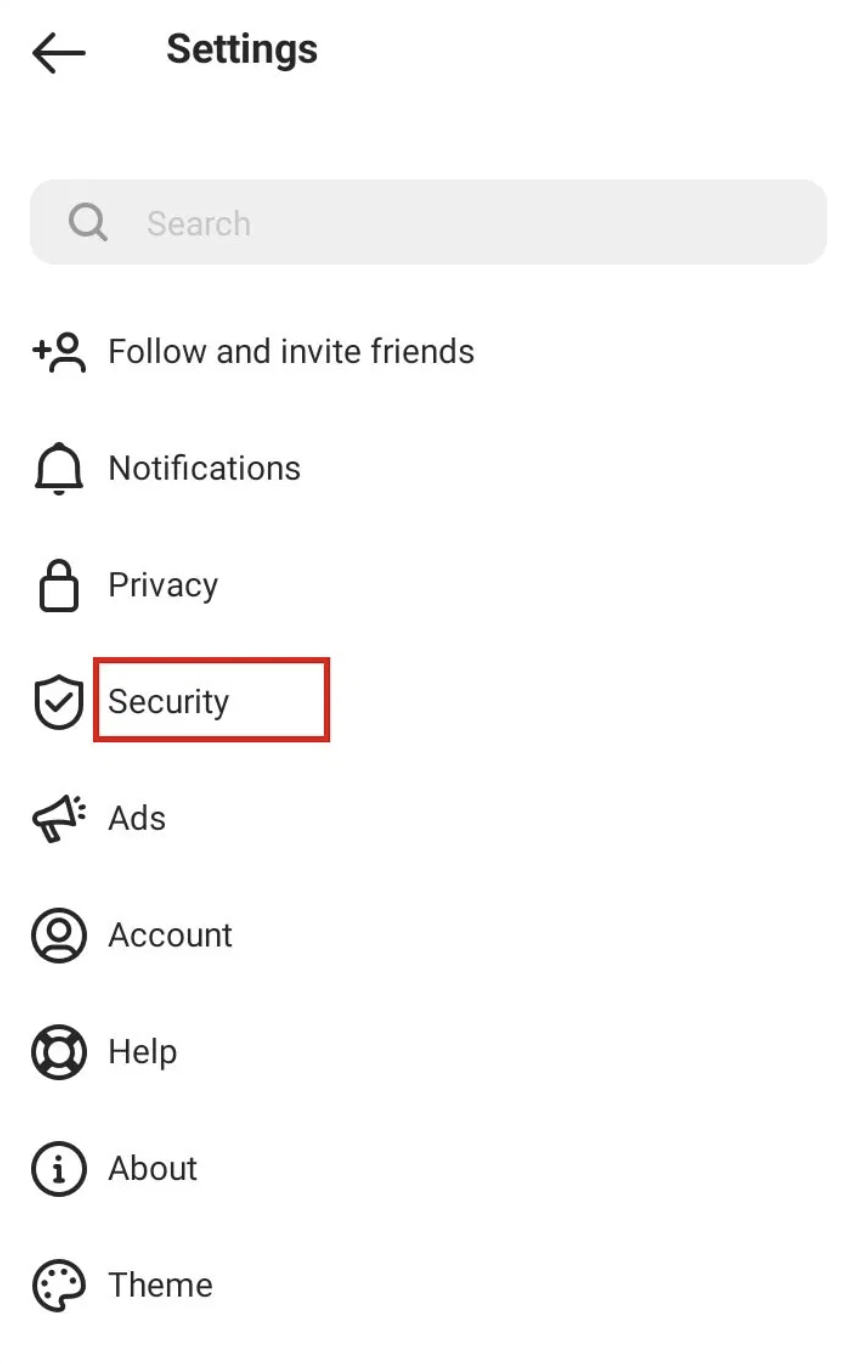
3. Select Security.
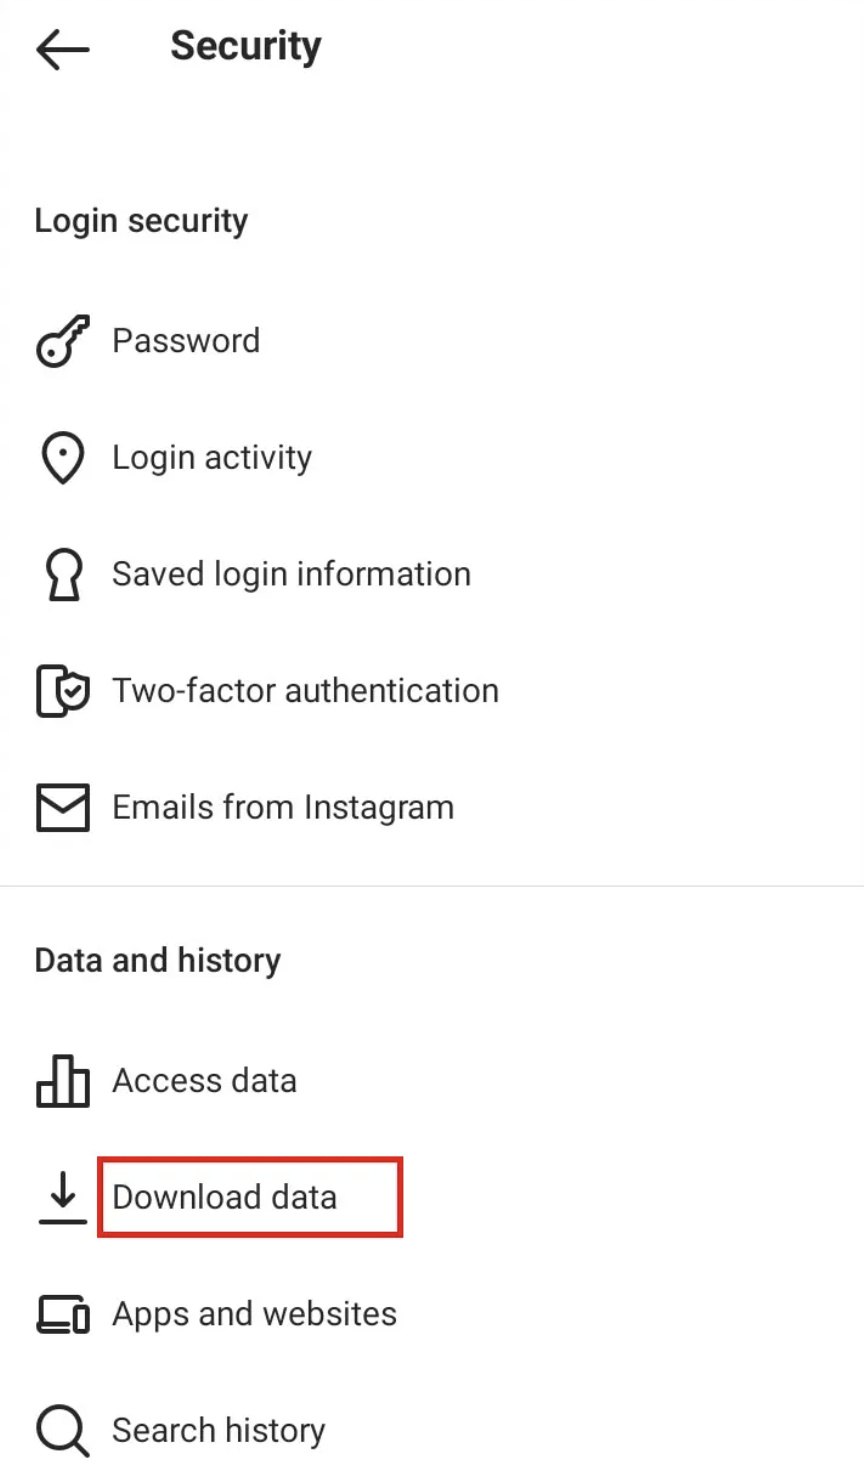
4. Scroll down to the Data and history and select Download data.
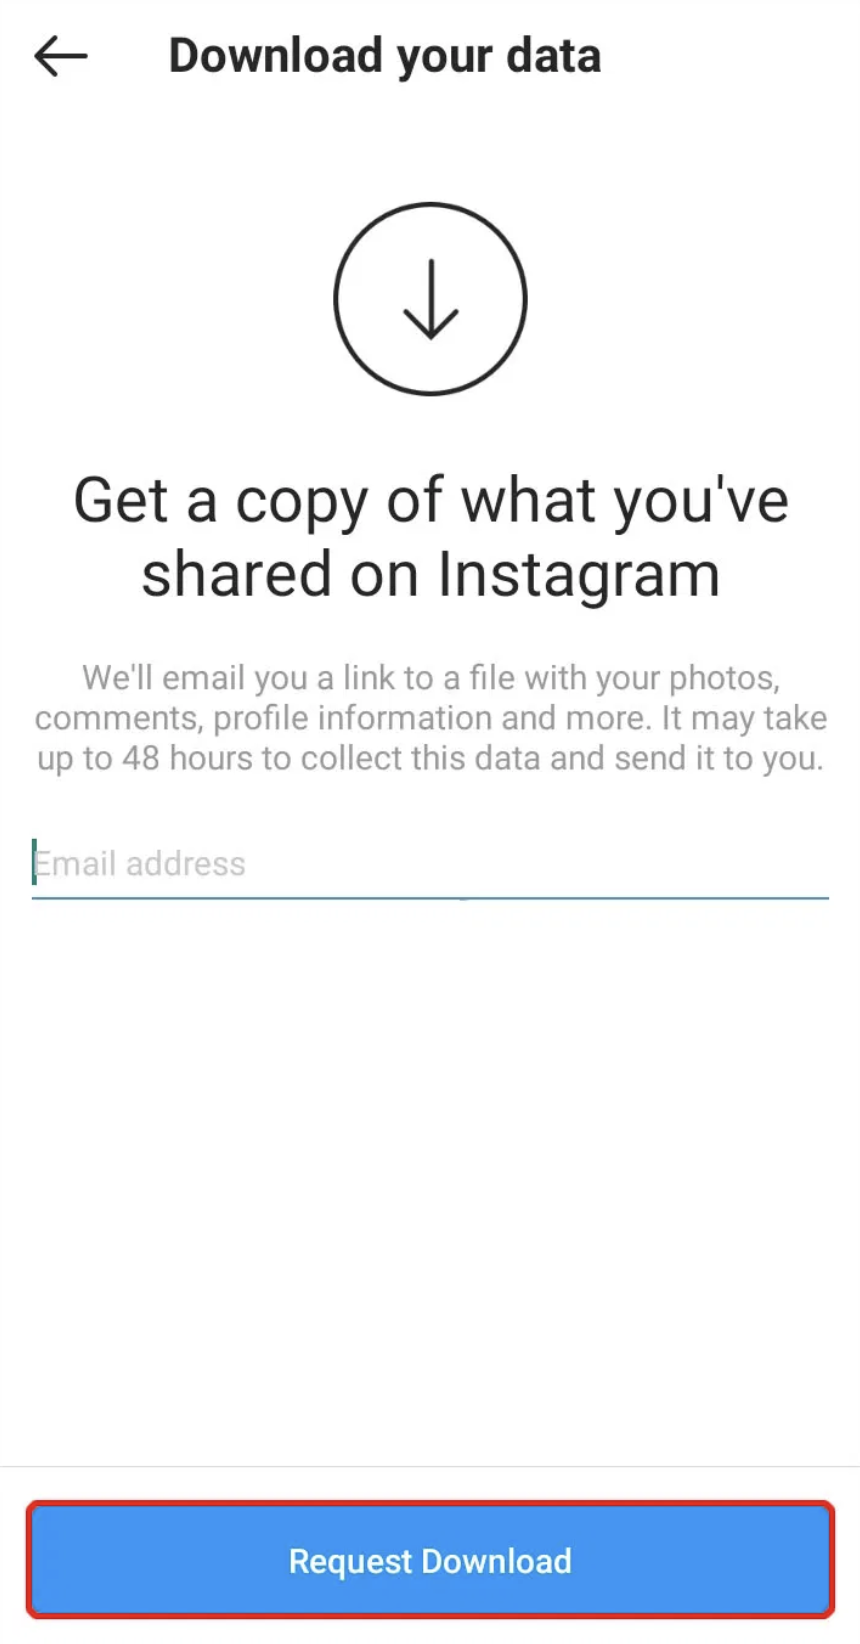
5. Enter your email address, and choose Request Download.
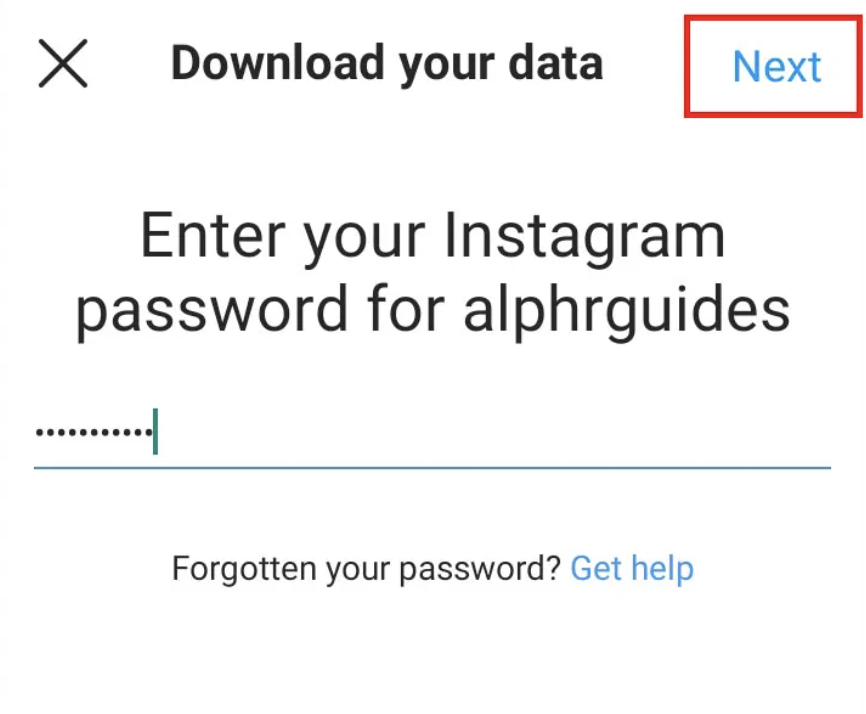
6. Enter your Instagram password and click Next.
7. Tap Done.
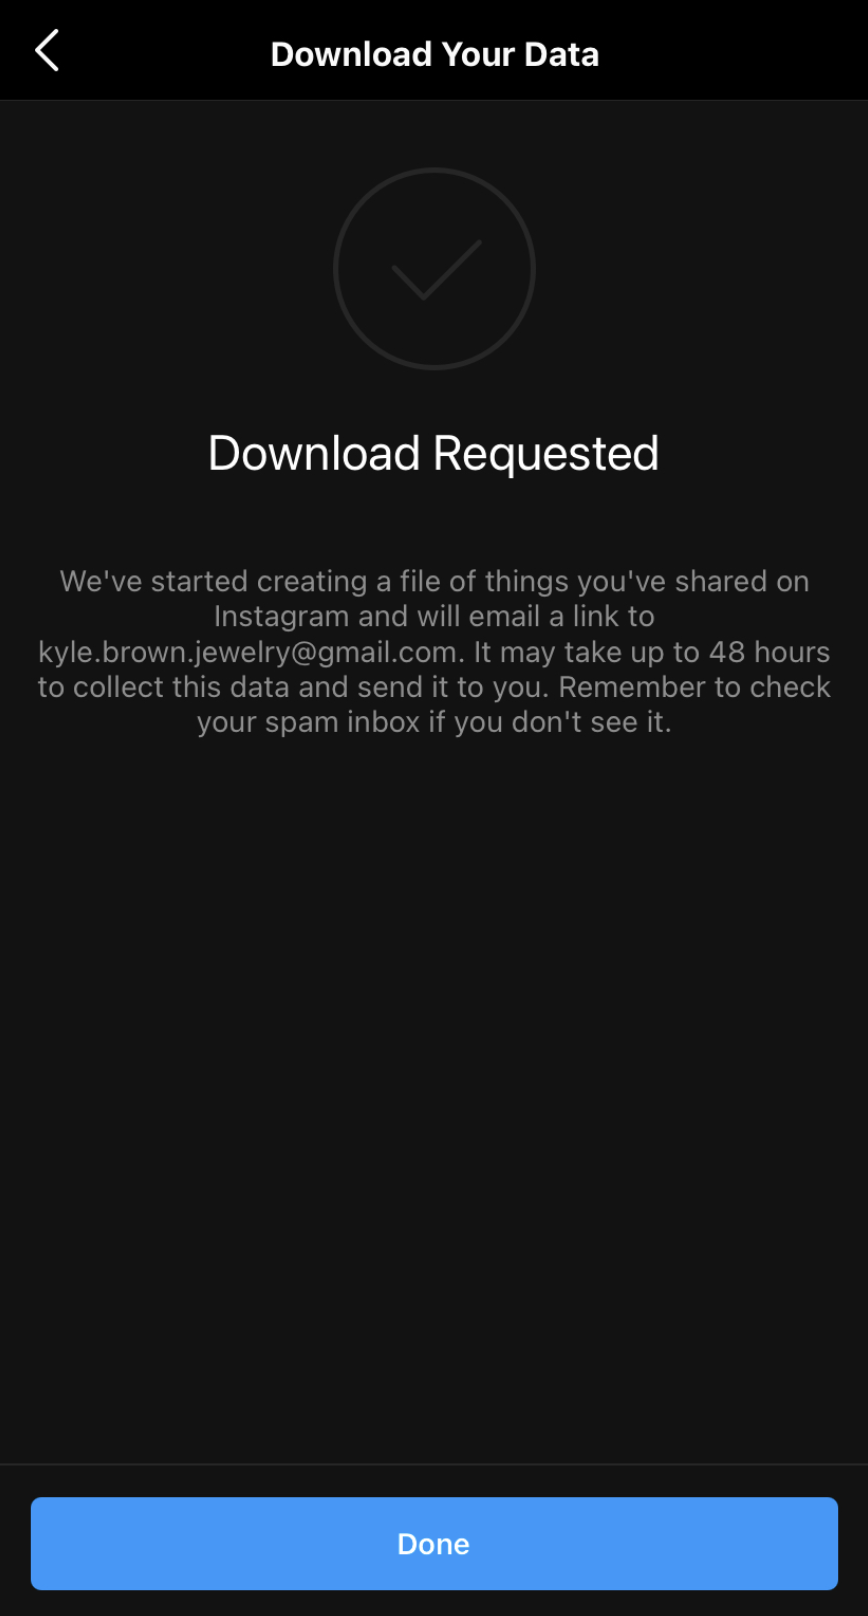
How long does it take? It depends on how much data you have on Instagram. It could be minutes or it could be hours. Take a break while you wait. All this tech stuff can be draining. Eventually, you’ll get an email with a link to download your Instagram photos, videos and more.
How to download your Instagram photos & videos to Mac.
Unfortunately, there’s not an easy way to download your photos and videos from Instagram to your iPhone. The next best thing is your Mac desktop. And it’s pretty easy!
1. Head to the Instagram website on your Mac desktop.
2. Select the Settings gear next to your profile.

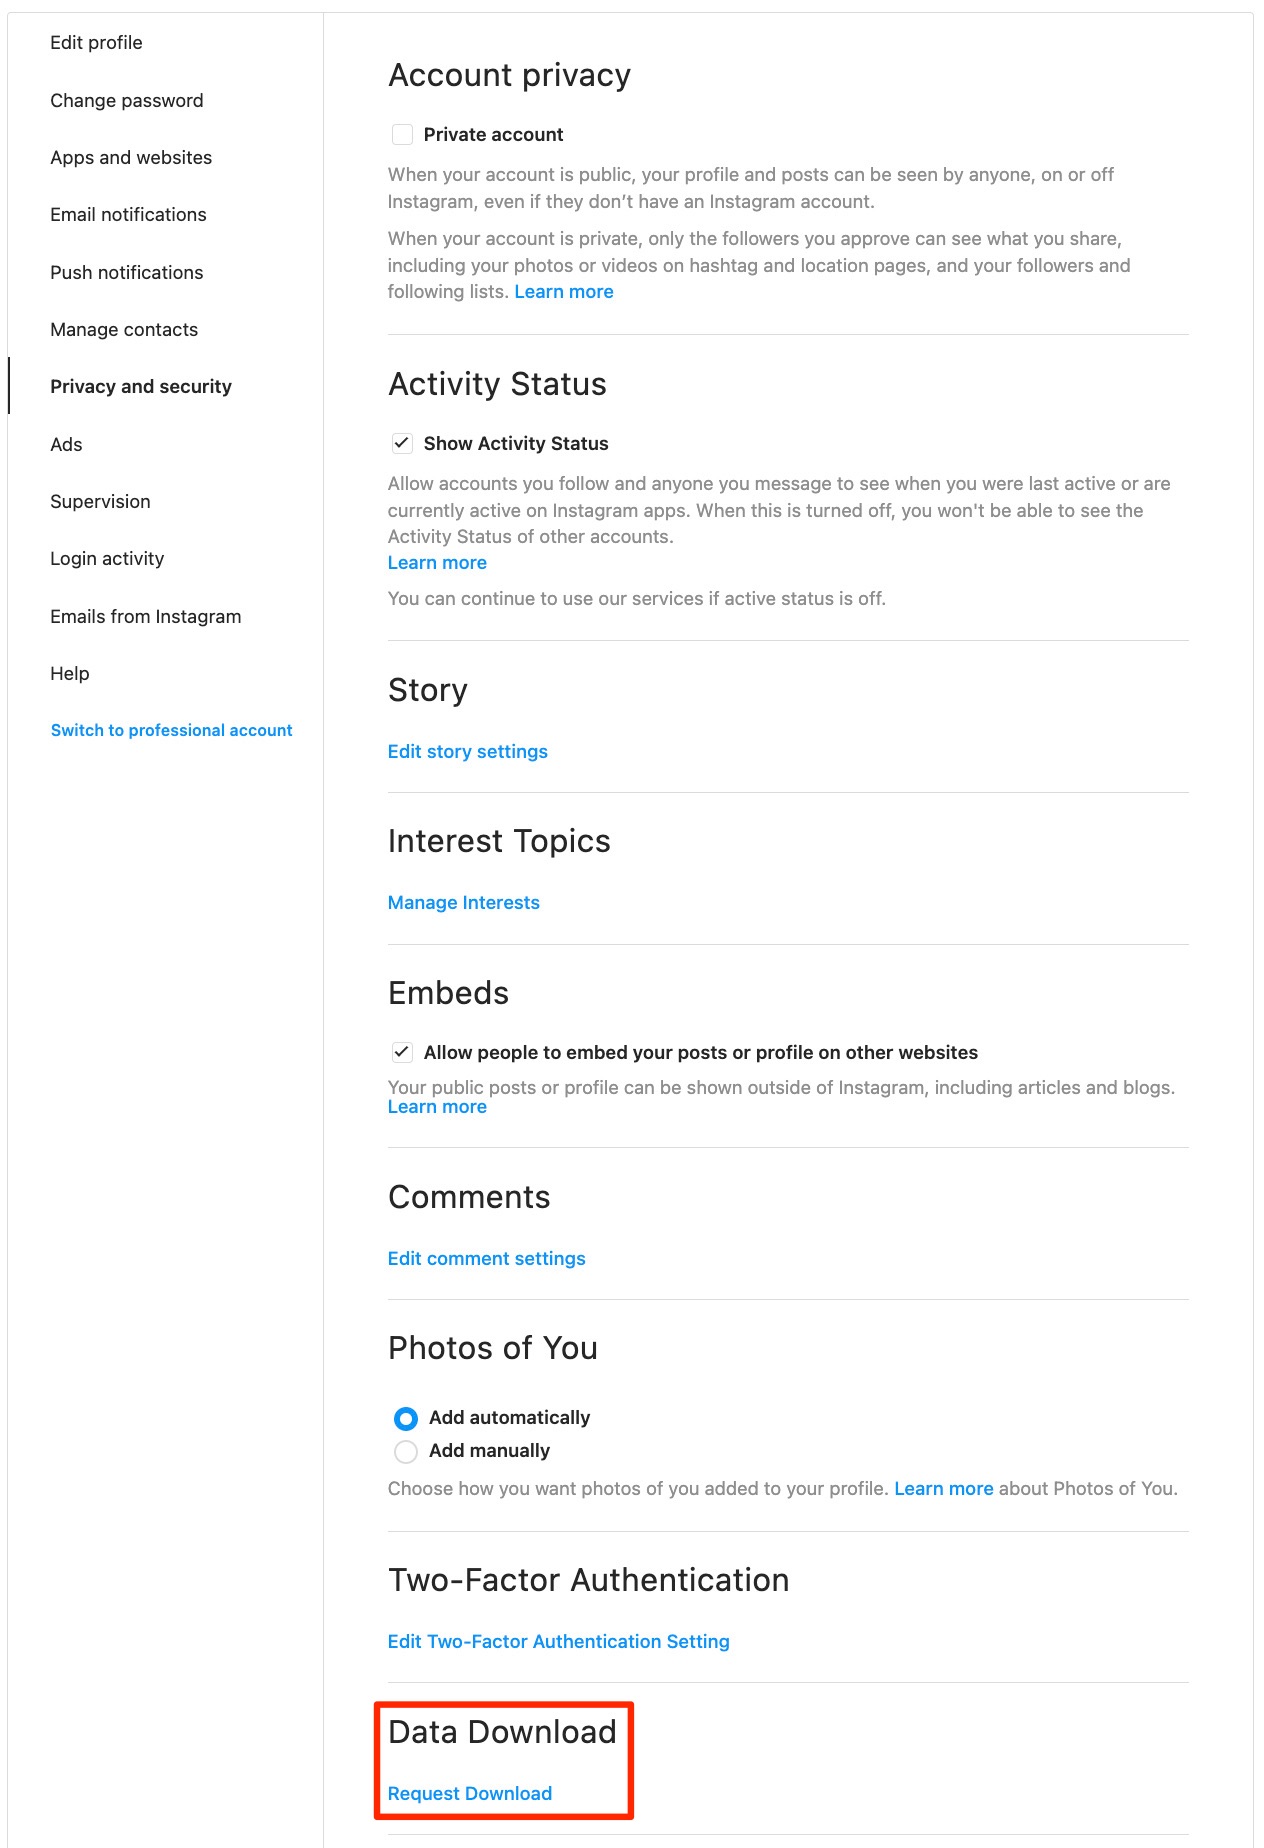
3. Scroll down and select Privacy and Security.
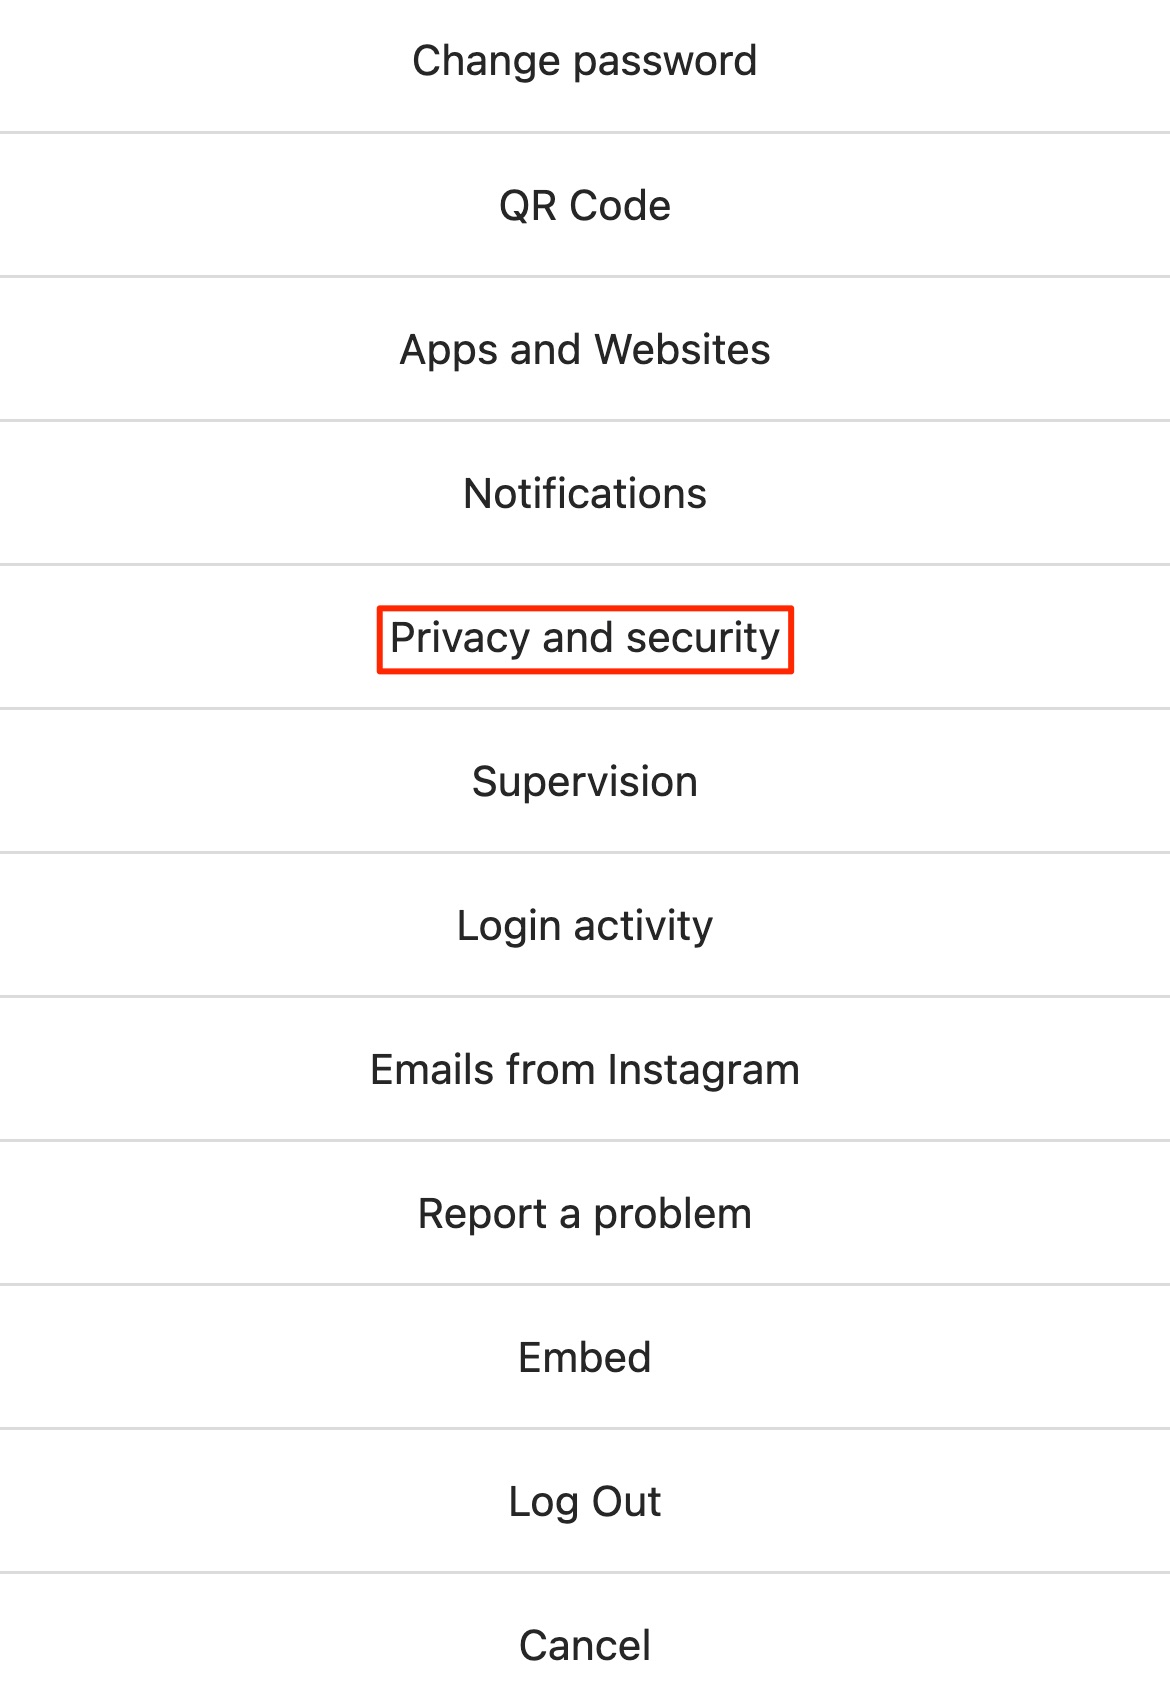
4. Scroll down to Data Download/Request Download and click it.
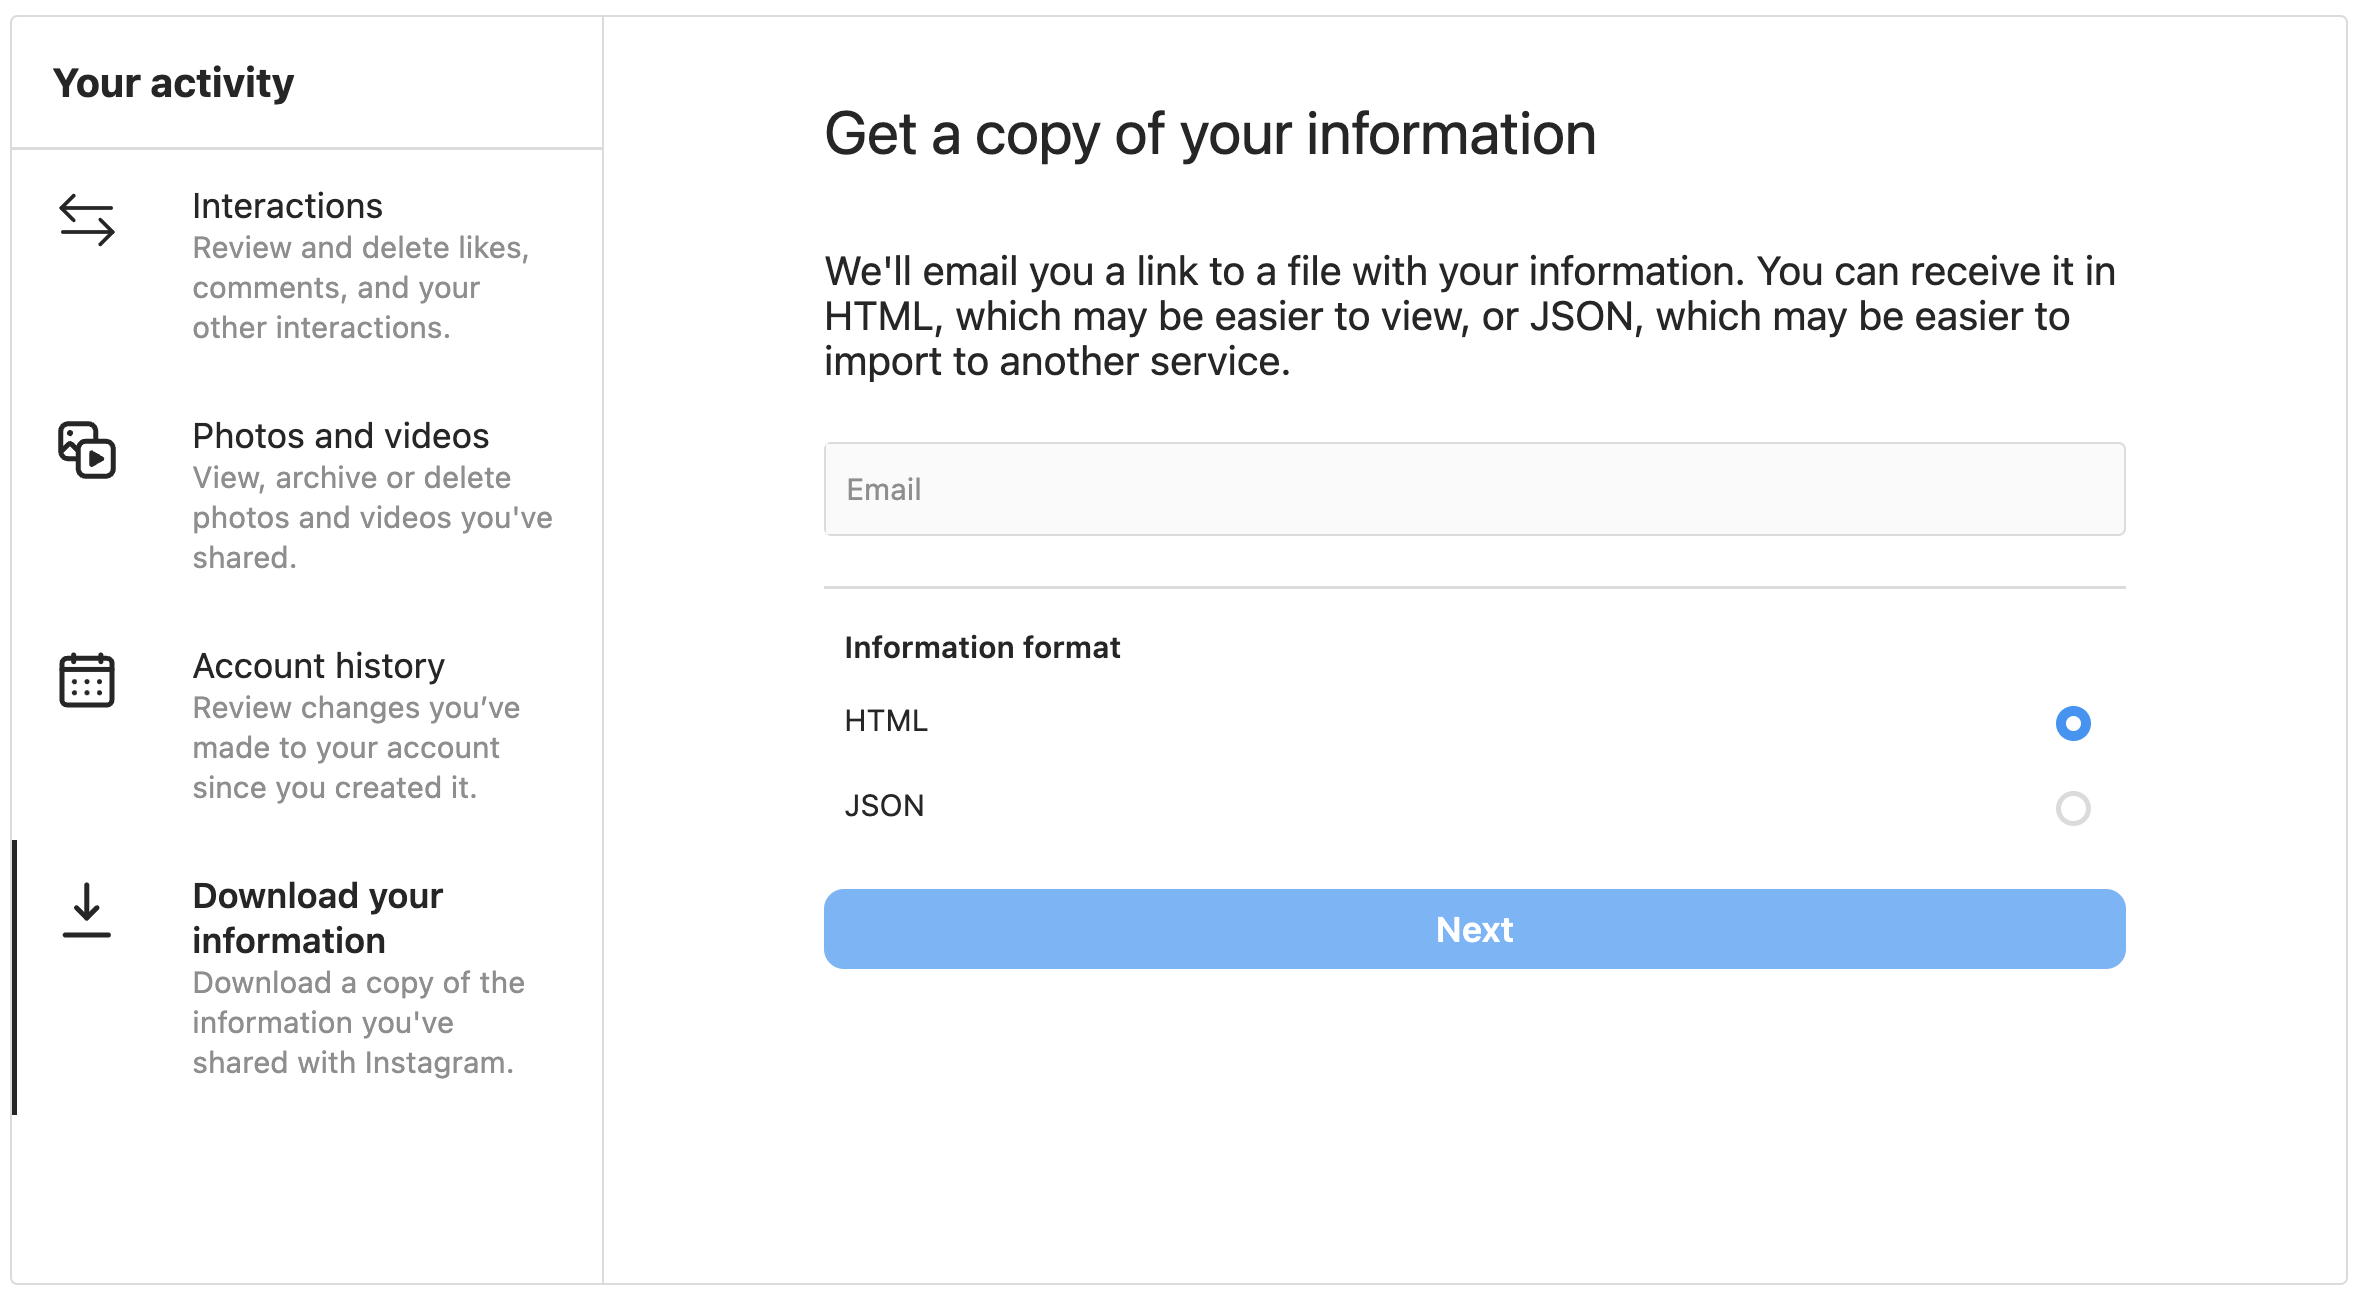
5. Type in your email to get a link to your archive and then hit Next.
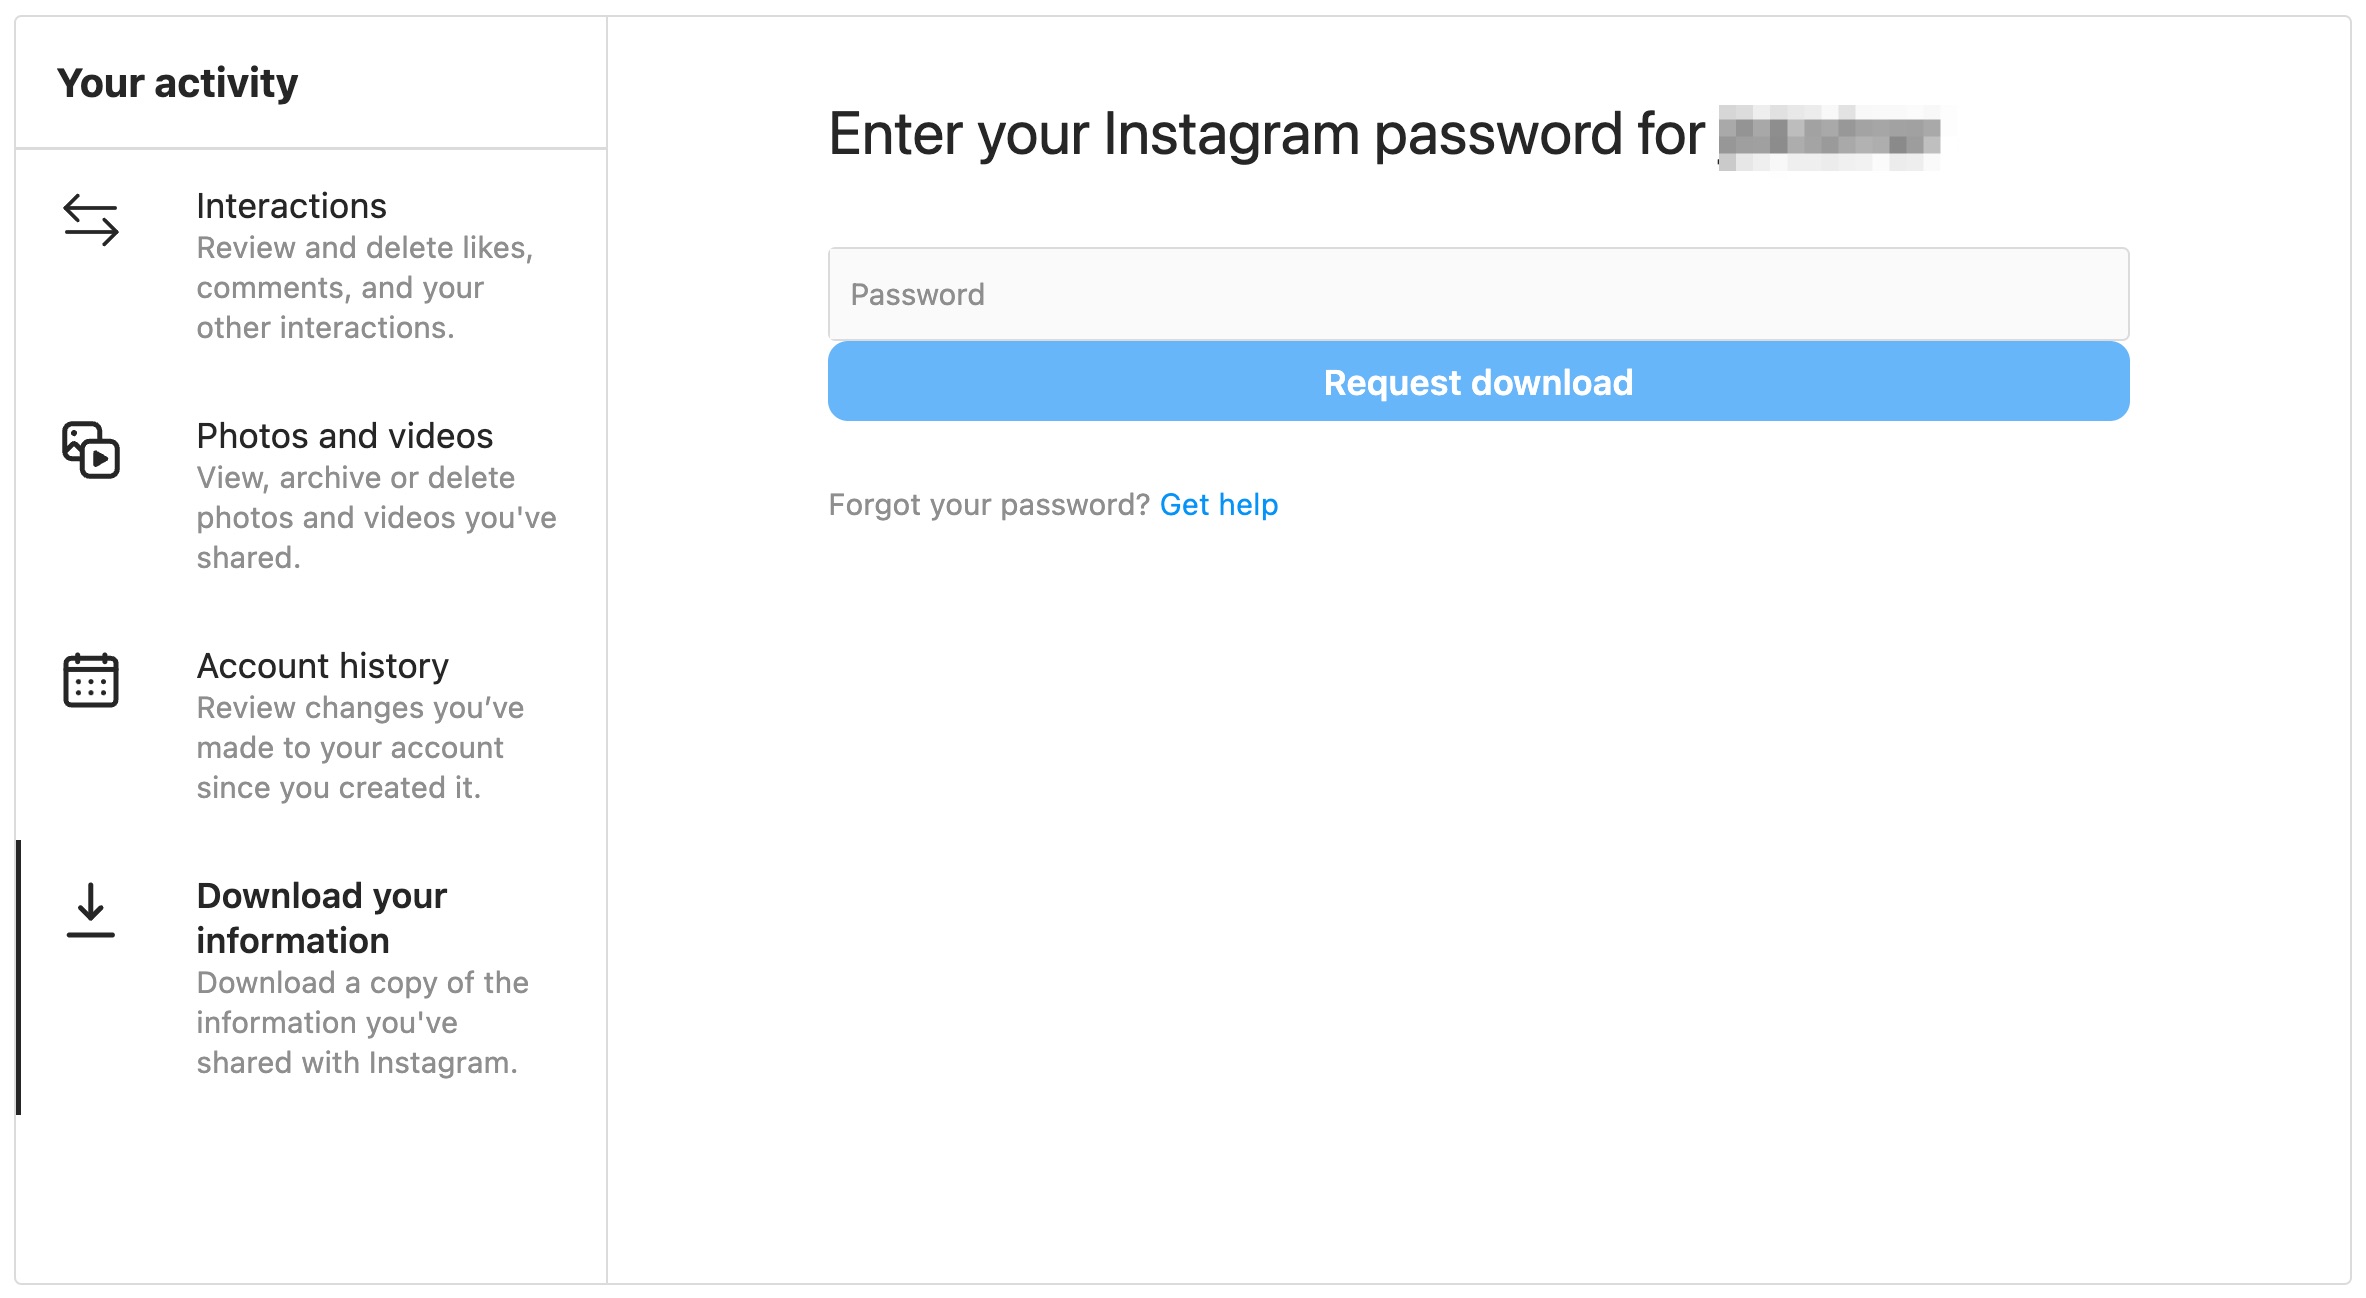
6. Enter your Instagram password and Request Download.
You should get an email pretty quickly depending how much you have uploaded to your Instagram account. Once you get the email with a link to download, follow the instructions. The link is only good for a couple of days.
Now let’s upload your Instagram memories to Photobucket!
1. Once you’ve received the email from Instagram and downloaded your Instagram photos and videos, log in to your Photobucket online photo storage account and click on Upload at the top of the screen.
2. Select the downloaded files from your computer, navigate to the recently downloaded Instagram folder, select ‘media,’ then select ‘posts,’ then open each folder containing your photos and videos and select all, then click Upload.
3. Wait for the files to finish uploading to your Photobucket account. Repeat as needed.
4. Once everything is uploaded, you can organize, edit and share your photos and videos on Photobucket however you want. And our cloud backup keeps everything at your fingertips.
Now all your Instagram memories are in one place for safekeeping - Your Photobucket!
