Are you sitting on a goldmine of amazing photos on your camera or smartphone, wondering how to share these gems with the world? Well, you're in luck! Today, we're going to walk you through the super simple steps of uploading photos to your computer and sharing them online. So, grab a cup of your favorite beverage, and let's get started!
Step 1: Connect and Transfer – It's Easier Than You Think!
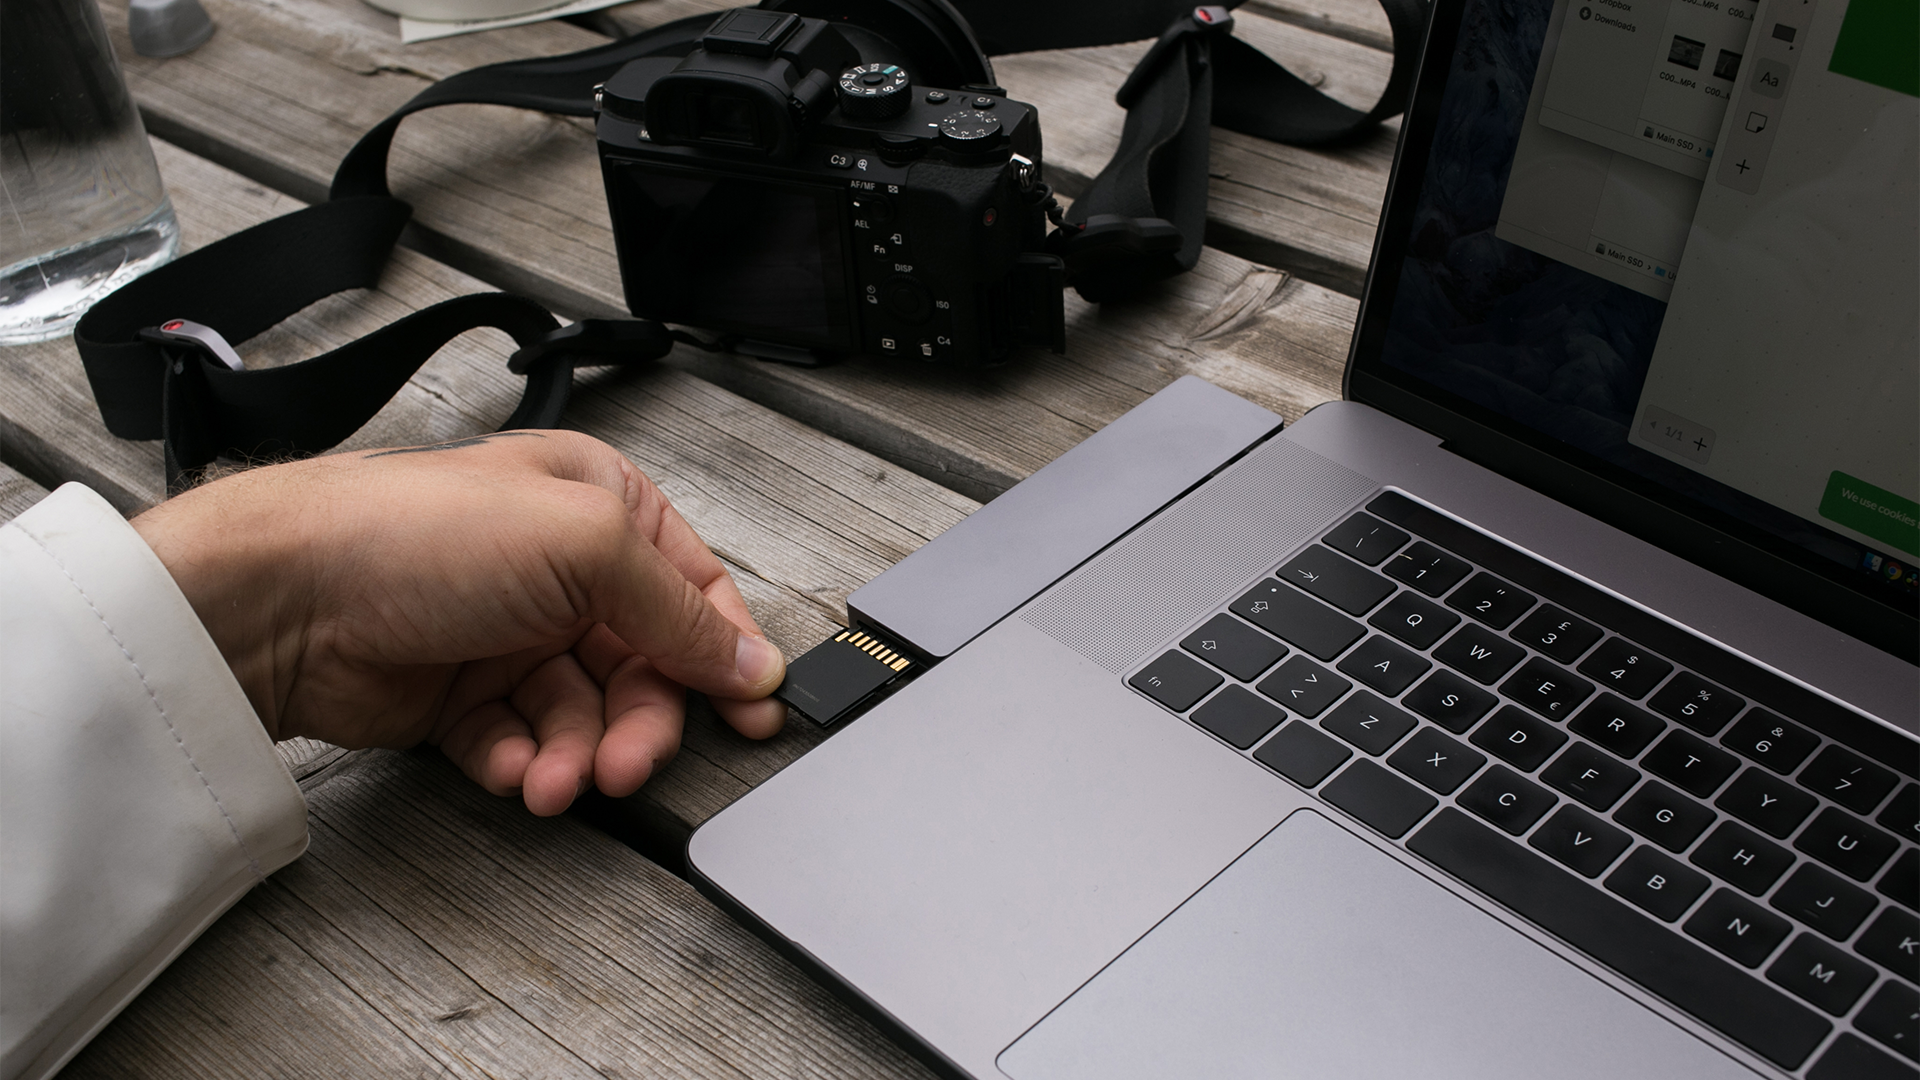
First things first, let's get those pictures from your device onto your computer. If you're using a digital camera, just connect it to your computer with a USB cable. For smartphone users, it's even easier – you can connect with a USB cable or, if you're feeling fancy, use wireless options like Bluetooth or cloud services.

Once connected, your computer will usually recognize your device as an external storage, and from there, it's a simple matter of dragging and dropping your photos into a folder of your choice. If you're a Mac user, the Photos app might just pop up to lend a hand. Windows user? No worries, the File Explorer is your trusty sidekick here.
Step 2: A Little Tidy Up Goes a Long Way
Now that your photos are on your computer, take a moment to organize them. Create folders by date, event, or however you like – trust me, Future You will thank you. This step isn’t just about being neat; it’s about making it easier for you to find and share images later on.

Step 3: Time to Share Images and Spread Joy
Now on to the fun part – sharing your photos online! There are so many ways to share images and photos online these days. Social media platforms like Instagram, Facebook, and X are perfect for sharing with friends and family. But if you’re looking for something more professional, consider photo storage platforms such as Photobucket.

Step 4: Choosing the Right Platform for Your Photos
Choosing where to share your photos online depends on what you want to achieve. Social media platforms are great for casual sharing, keeping in touch with friends, and showing off your latest adventures. But if you're a budding photographer looking to build a portfolio, photo storage and video storage platforms like Photobucket might make more sense for securing your photos and videos.
Step 5: Uploading Photos Online – A Breeze!
Uploading photos to Photobucket is pretty straightforward. Typically, you'll find an "Upload" button or something similar. Click it, select the photos you want to share from your computer, and voilà! You're almost there. In addition, Photobucket's Auto Backup feature on the mobile app helps to ensure that your photos and videos are backed up as soon as you take them.
Step 6: Adding the Cherry on Top – Captions and Tags
Don’t just upload your photos and disappear. Add titles, descriptions, and tags to tell the story behind the photo, or just share what you were feeling at the moment. Tags are also super handy to help organize your photos.
Final Thoughts: The Joy of Sharing
And there you have it – uploading and sharing photos online is that simple! It's a fantastic way to preserve memories, express yourself, and connect with others. So start sharing, and watch as your digital photo album brings smiles, starts conversations, and maybe, just maybe, inspires someone out there.