
You can now transfer a copy of all your photos and videos to Photobucket using Facebook's data transfer tool. All your content will be safely stored in your Photobucket online photo storage account.
How does it work?
1. Log in to your Facebook account and go to your Photo > Settings & Privacy > Settings > Your Facebook Information.
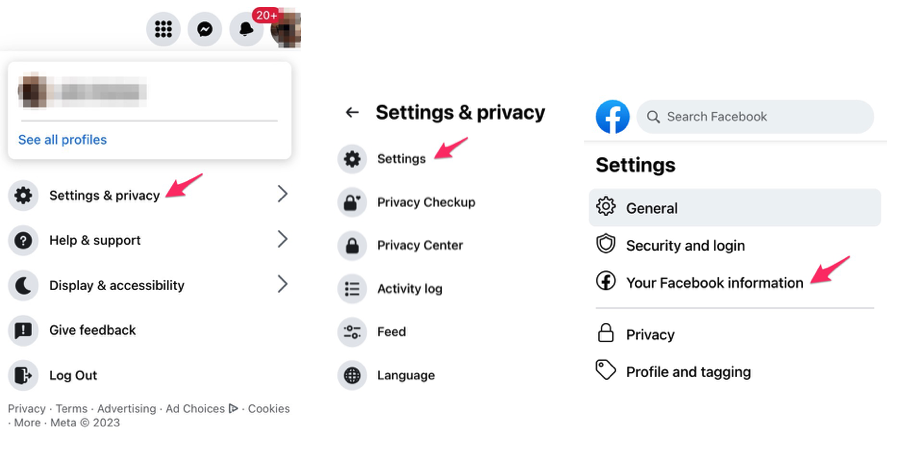
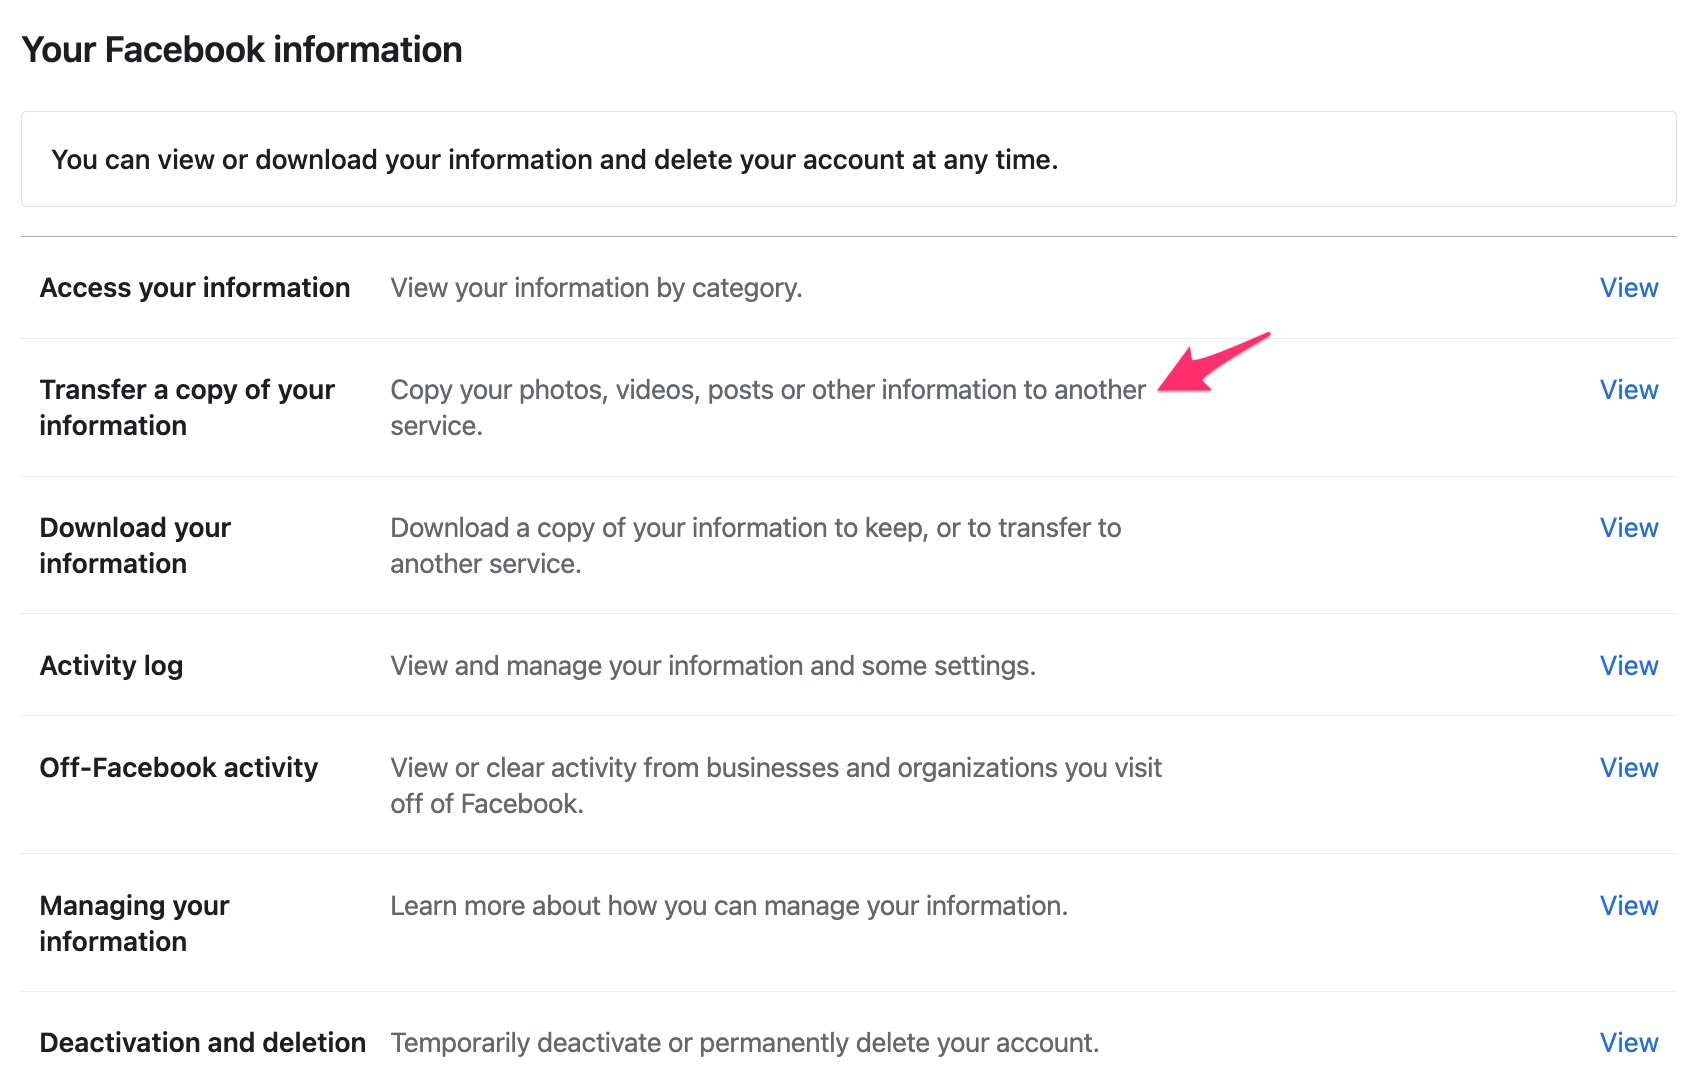
2. From there, select Transfer a Copy of Your Information.
3. Click Next.
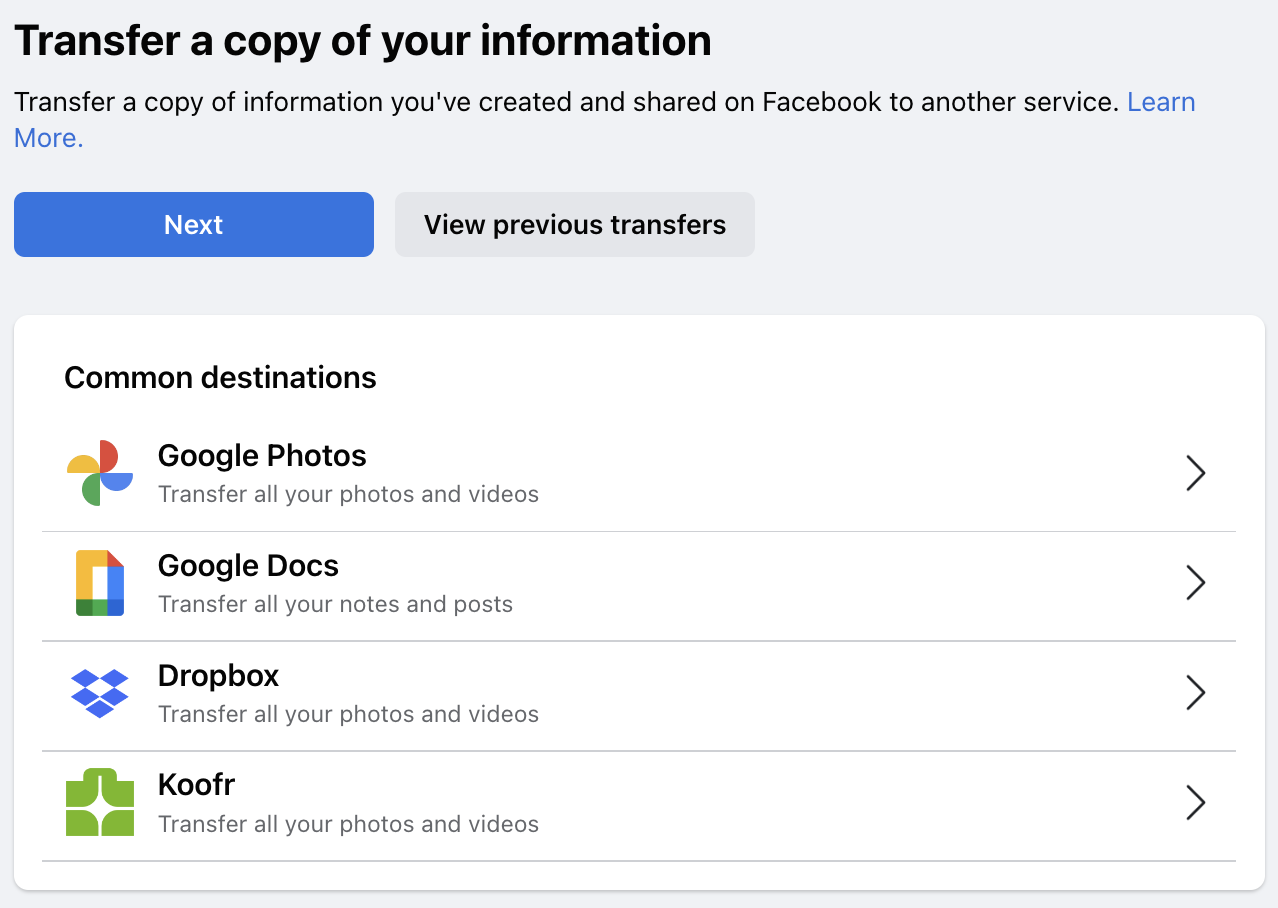
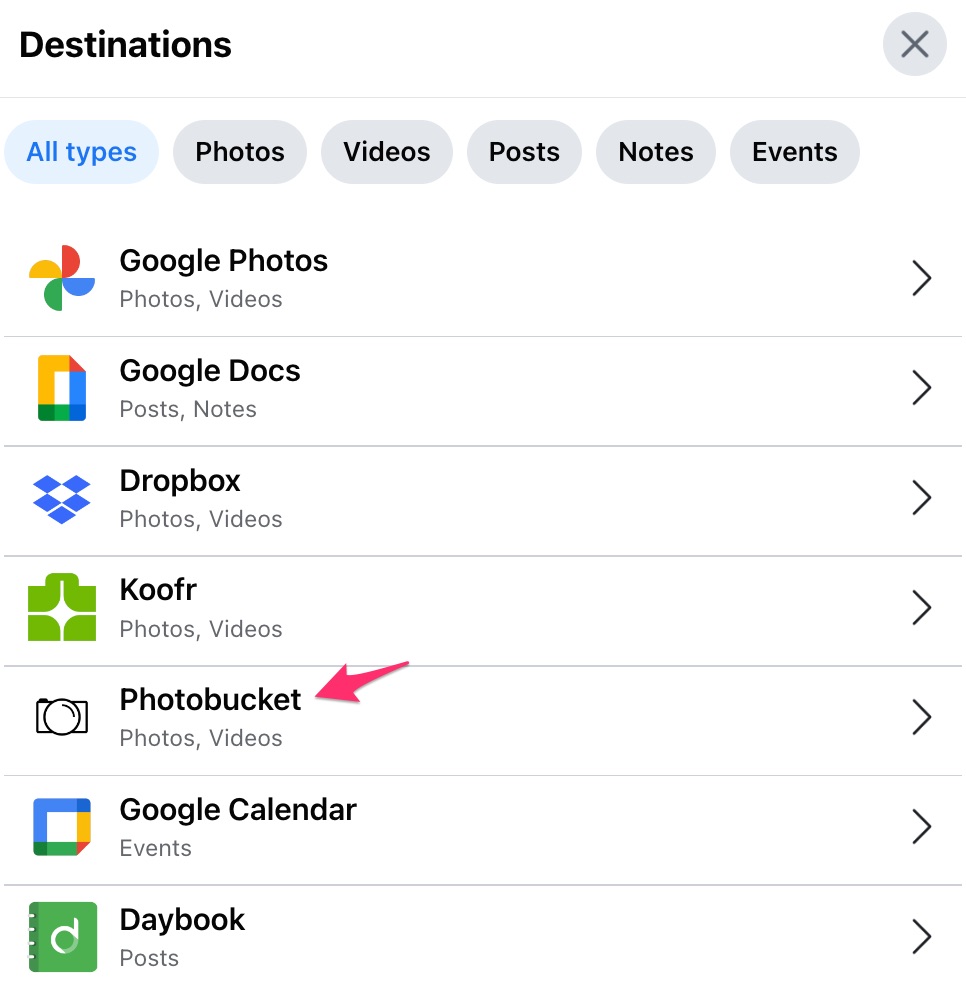
4. Choose destination.
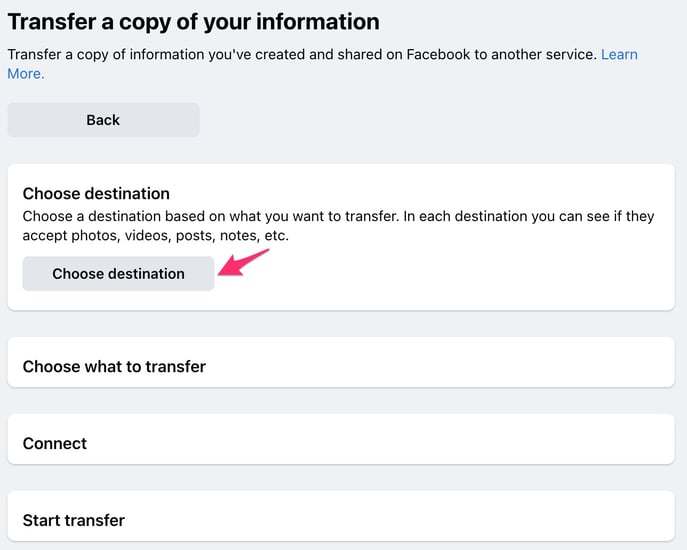
5. Select Photobucket.
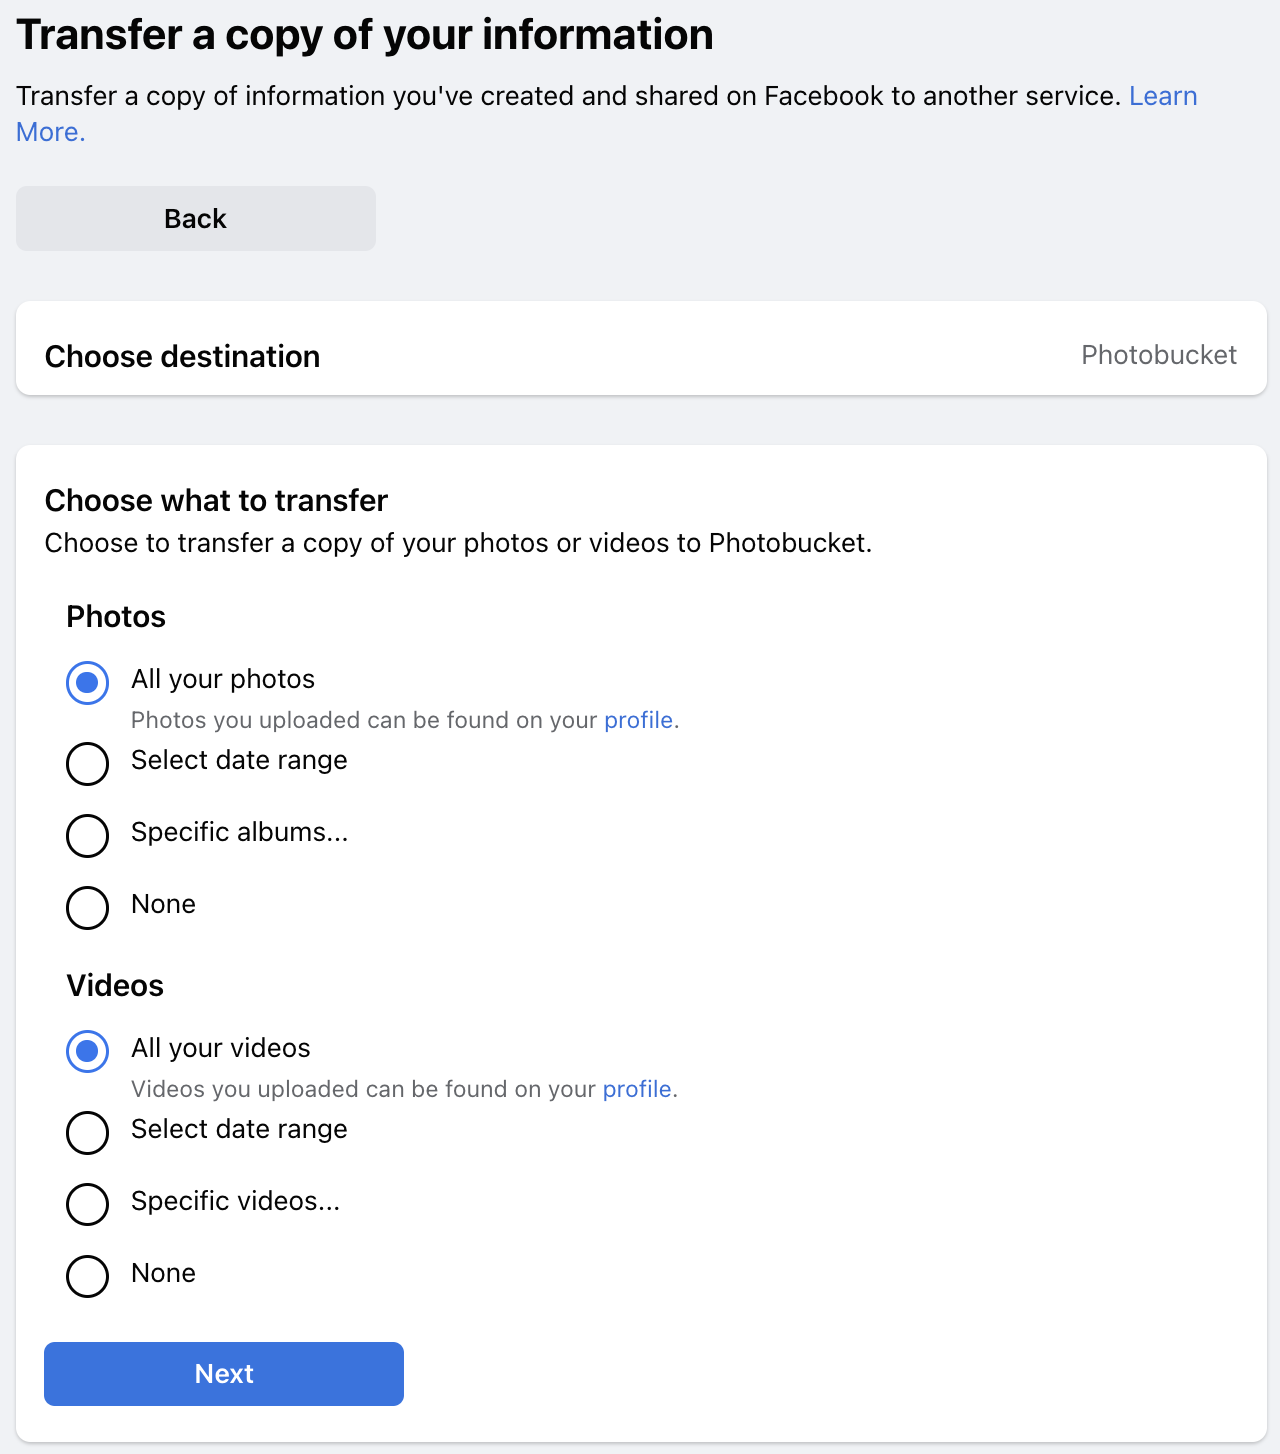
6. Select what you want transferred and click Next.
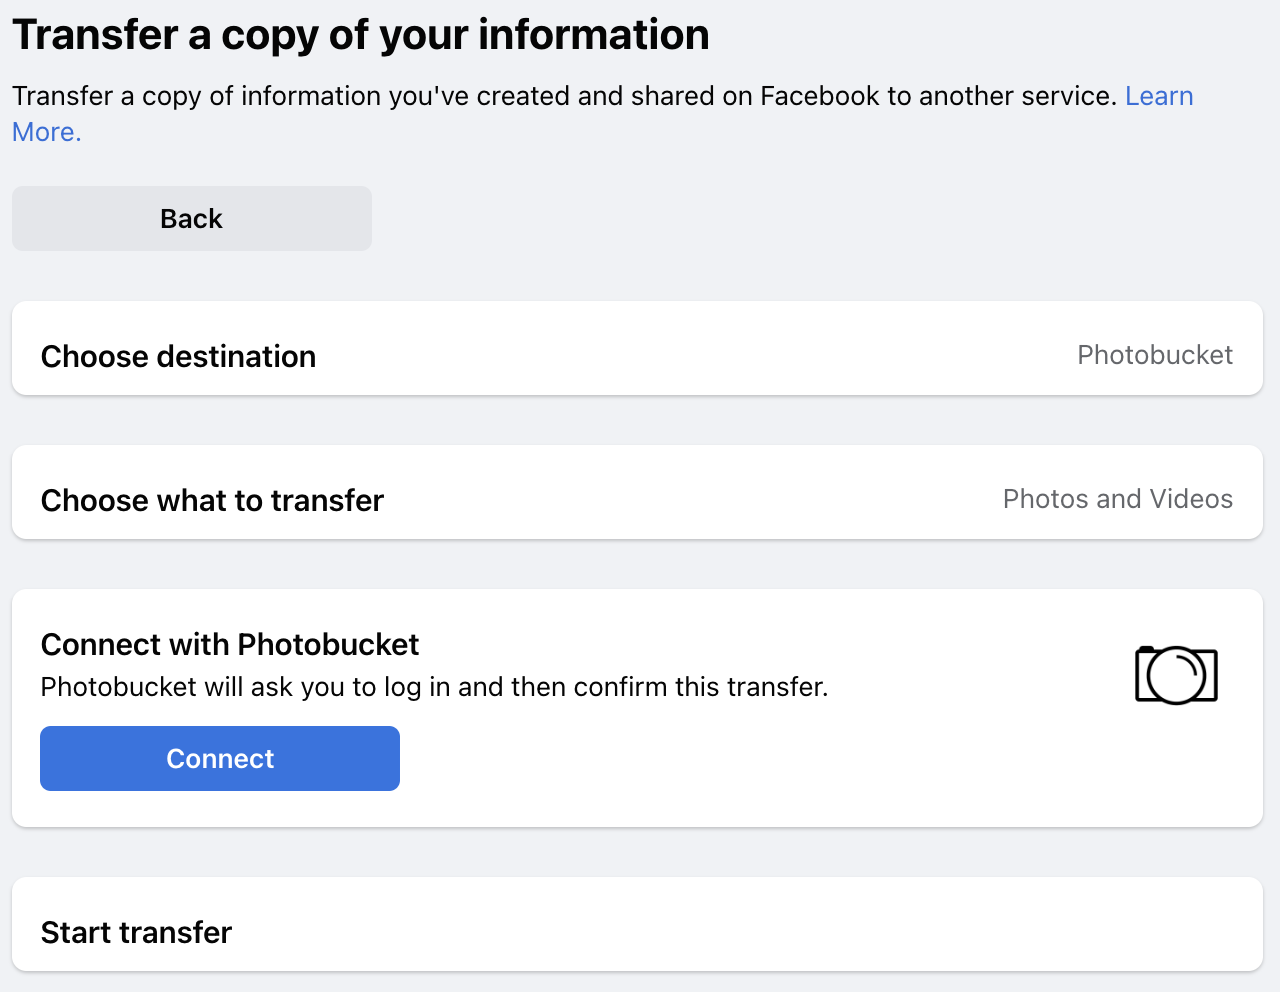
7. Confirm details and click Connect.
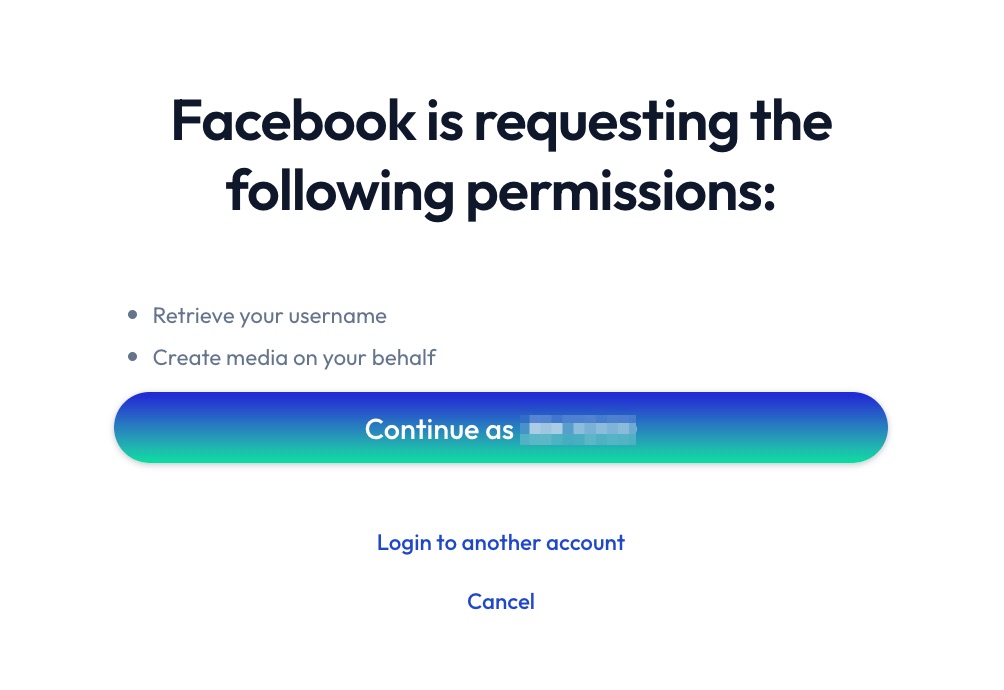
8. You will be asked to temporarily allow Facebook to access your Photobucket account. Grant access to continue with your transfer.
9. Confirm details and click Start Transfer.
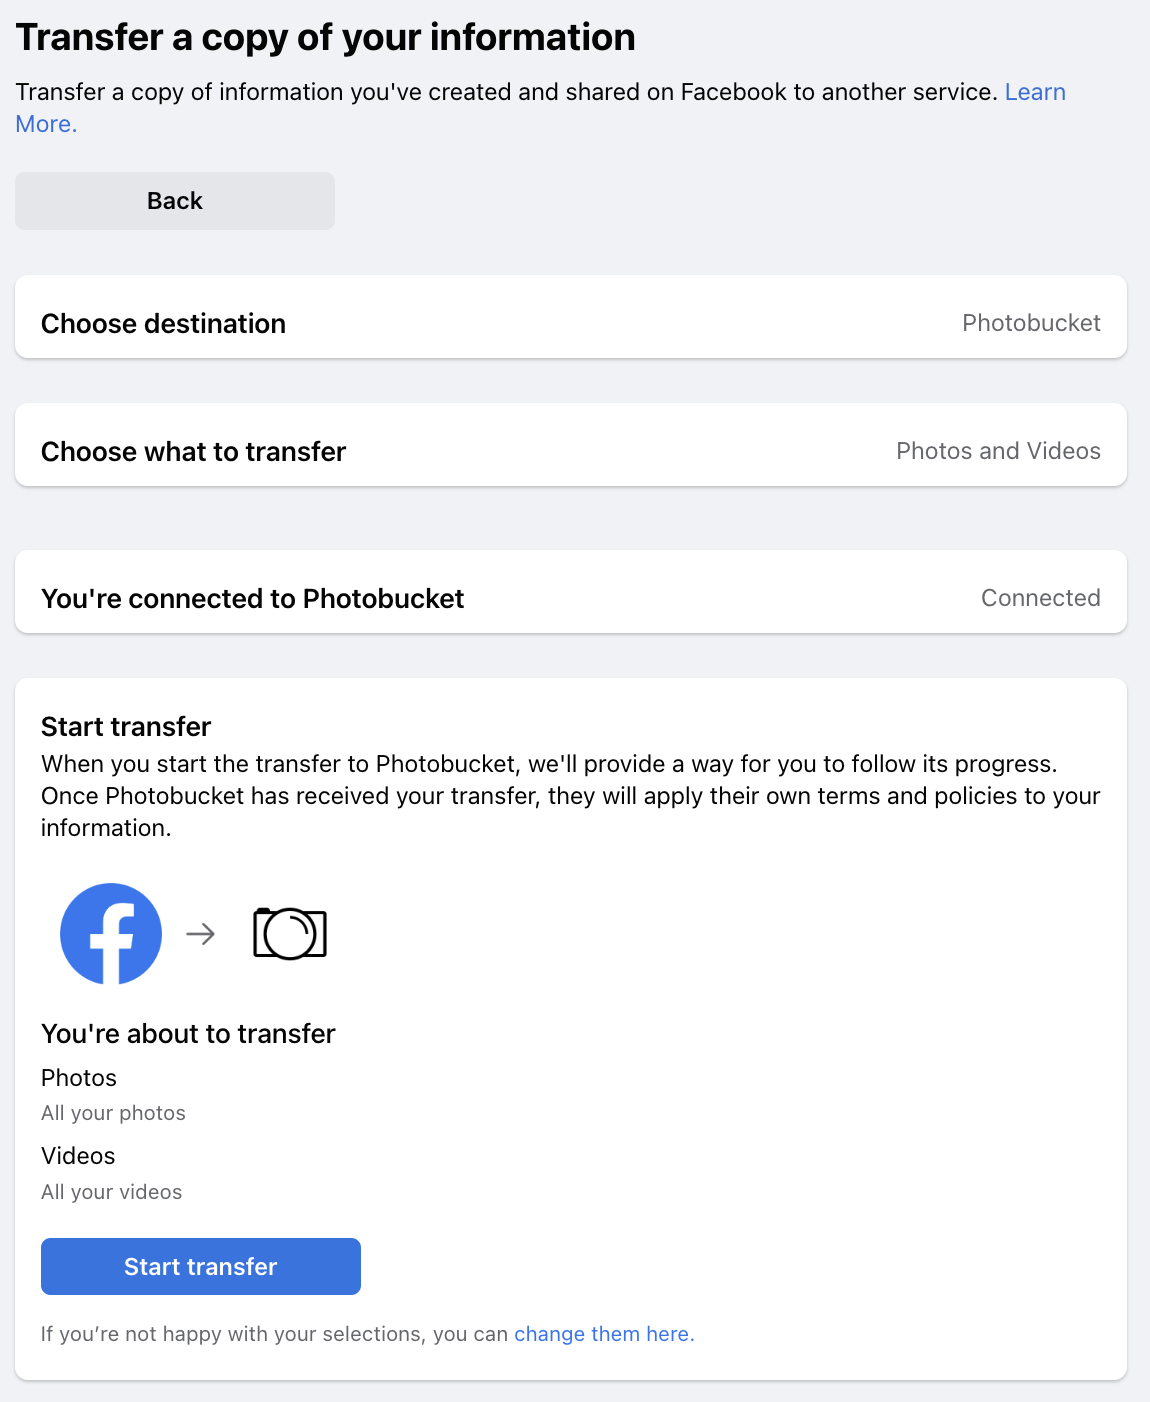
10. Your transfer will start.
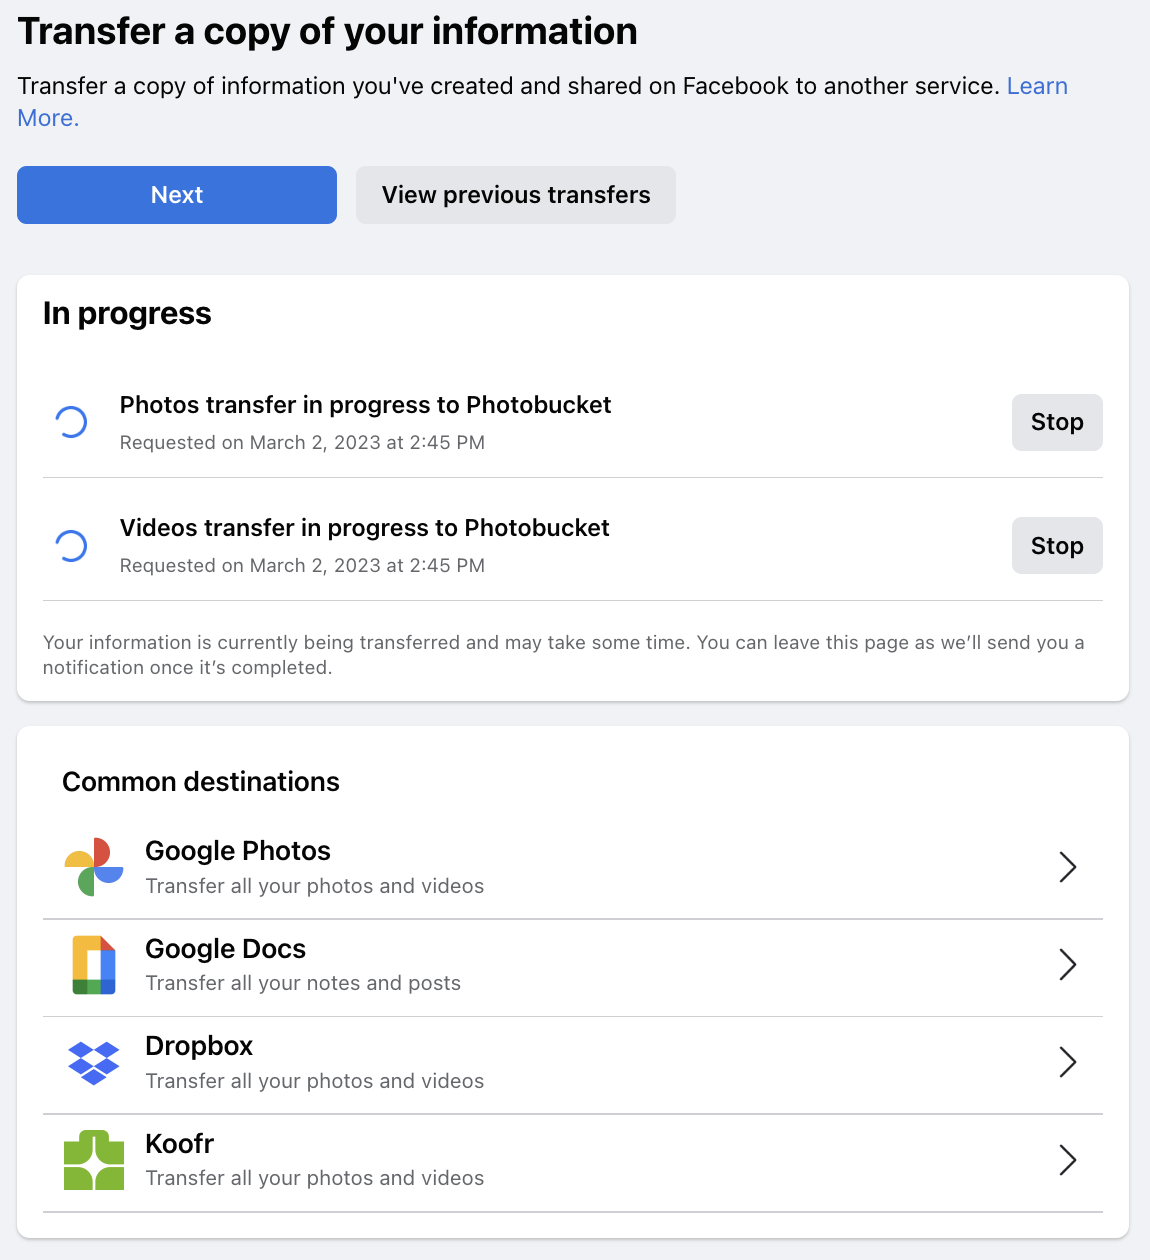
11. After your transfer is complete, go to your Photobucket and look for albums titled Facebook Photos or Facebook Videos. Remember to turn on Photobucket's Auto Backup feature for easy cloud backup.
Now all your Facebook memories are always right at your fingertips, thanks to Photobucket!
Facebook is a registered trademark of Meta Platforms, Inc., used with permission.